Engine tear down part 3
<div>The oil splash pan was also acts like a support plate for the main caps. I forgot to take a picture but the plate has thick strong supports on the inside of the pan that acts like a girdle. </div><div>
</div><div>No visible damange or wear on the rotating assembly
Rods and pistons looks good. No signs of detonation or wear on the ringlands.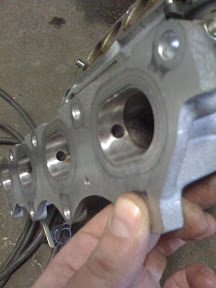
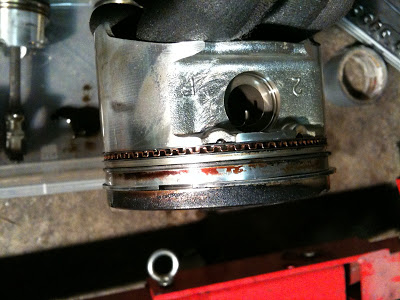
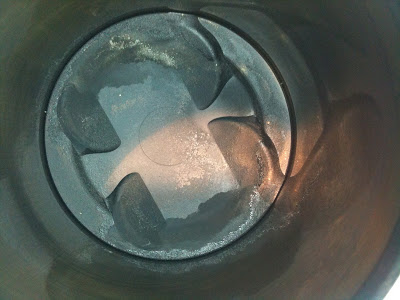
</div><div>There are som scuffmarks on the skirts as always. Looks worse tat it is there is some dirt from the gloves.
Main bearings had no visible wear.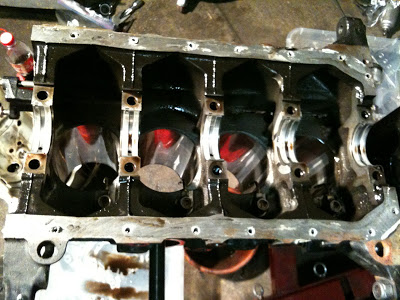
 </div><div>
</div><div>Its interesting (at least for me) to see how the oil is distributed to the bearings via the block -> crank -> rod bearings. I also noticed that the oil passage going to the head has a restrictor as the valvetrains does not need as much oil as the parts in the block. Oil pressure is the single most important parameter to monitor in an engine.</div><div>
</div>
Comments