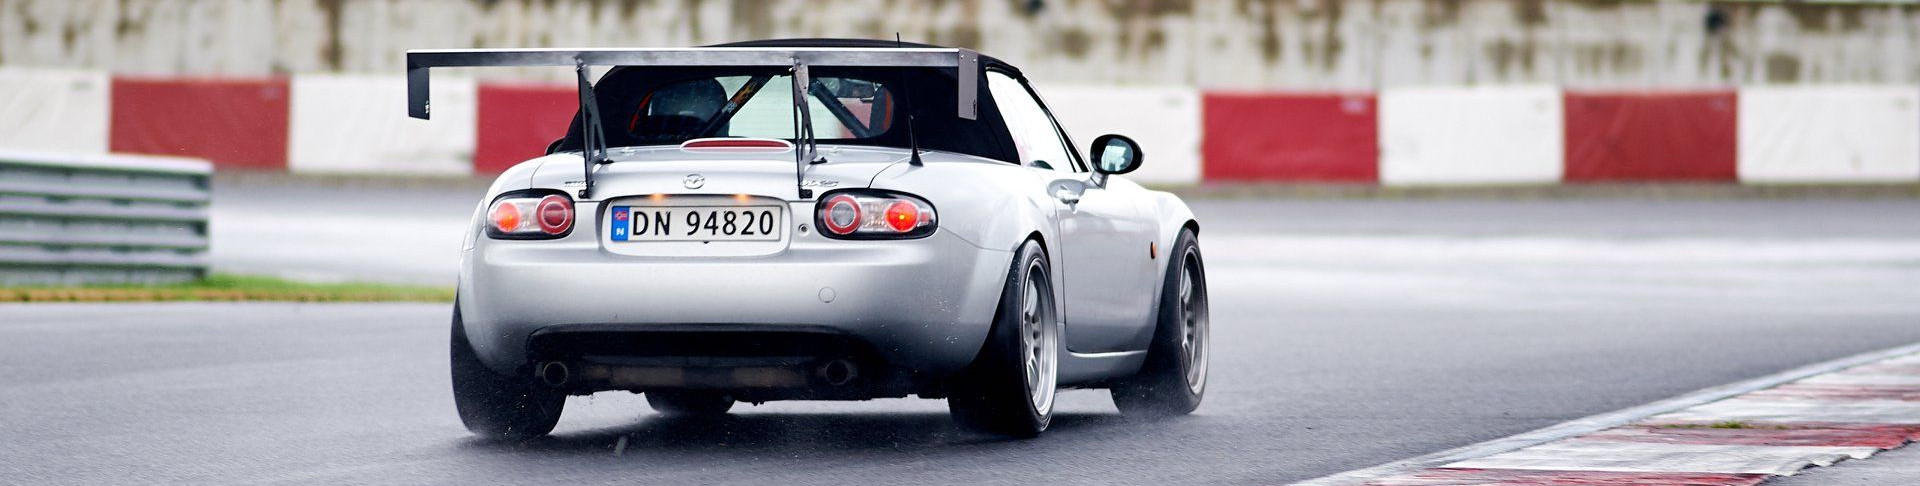
Prosport boost gauge mounted inside instrument cluster
Updated: Remove annoying beep and wire it to always use red background lighting (Step 6. and 7. )
Where is the optimal place to mount a gauge ?
- In the vents, blocking airflow to the driver ?
- On the window frame blocking the view and telling everybody you are a ricer ?
- Mounted out of sight below the radio ?
Wrong.
The optimal place is where Mazda put them from the factory in the instrument cluster.
Since they also choose to down grade the oil-pressure gauge to a useless idiot-gauge in 93- there is a vacant 52mm spot for something useful like a boost gauge. Oil pressure is monitored on my dashlogger anyways.
I have tried this before with a analogue FM-boost gauge but it was too deep to fit inside.
In 2008’ish a new cheap stepper motor based series of gauges has been available from Prosport.
They are very low profile and fits inside the cluster without modification of the cluster itself.
I know this has been done before with a slim Speedhut gauge as well. ( Searh DIY-section on www.mazda-speed.com for the writeup )
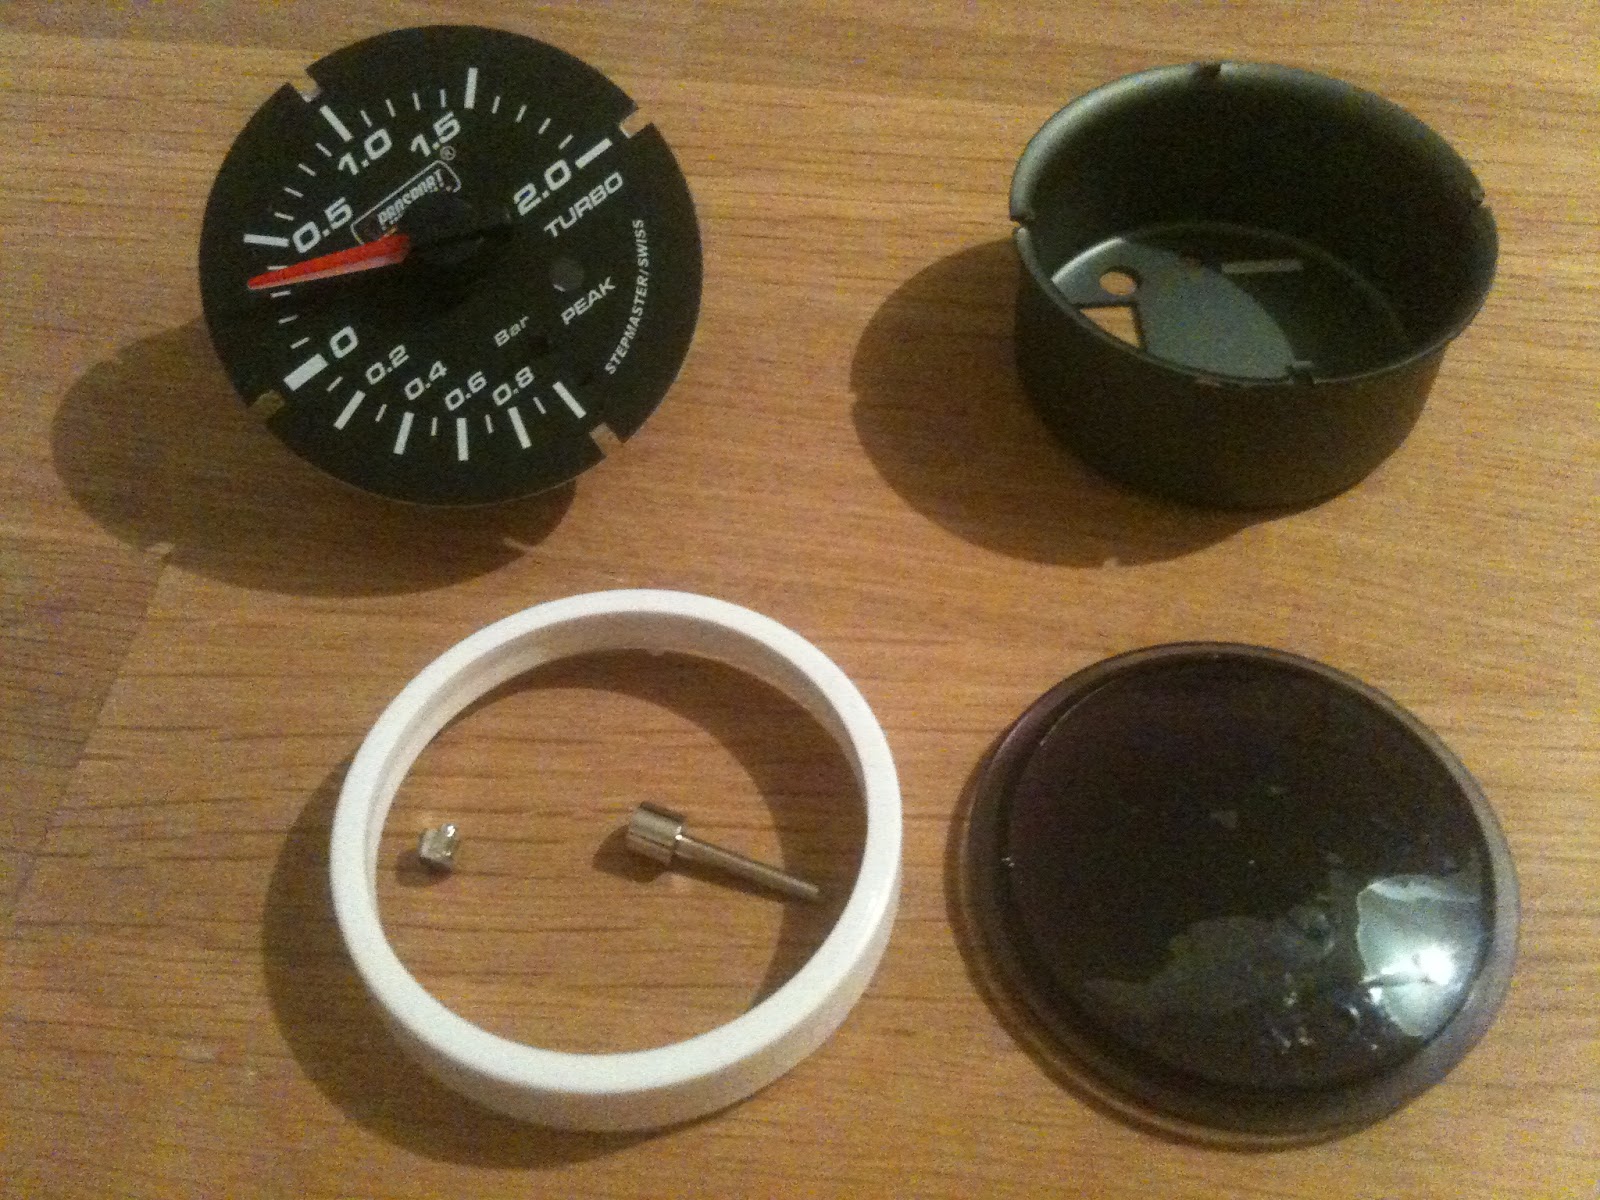
1. Take your brand new straight from China boost gauge and use a pair of pliers to remove the outer metal ring holding everything togehter.
Also remove the button that goes trough the plastic lens. We will only need the gauge mechanism and face plate/needle.
<div class="separator" style="clear: both; text-align: center;">
 </div>
<div class="separator" style="clear: both; text-align: left;"></div><div class="separator" style="clear: both; text-align: center;"></div>
<div class="separator" style="clear: both; text-align: left;">2. Remove instrument cluster cover by yanking hard (no screws, only violence needed) and removing the cluster itself with 4 screws and 3 connectors on the back side.</div><div class="separator" style="clear: both; text-align: left;">
</div><div class="separator" style="clear: both; text-align: left;">3. Remove the front facia by undoing a bunch of plastic tabs.</div><div class="separator" style="clear: both; text-align: left;">
</div><div class="separator" style="clear: both; text-align: left;">4. Remove the OEM oil pressure sensor attached with 3 screws on the back side of the cluster.</div><div class="separator" style="clear: both; text-align: left;">
</div><div class="separator" style="clear: both; text-align: left;">5. The gauge face is to big to fit without trimming it down. This can be done with a pair of scissors. Since the gauge face was fixed in place by the outer casing we also need to glue it to the internal white housing. It can certainly be done a lot prettier than what I managed to do. The edges will be covered by the front cluster bezel. Be absolutely certain that it is aligned properly with the warning light before gluing it together. Since the bezel covering the gauge are smaller than 52mm you also need to cut off the needle about 1-2mm.</div>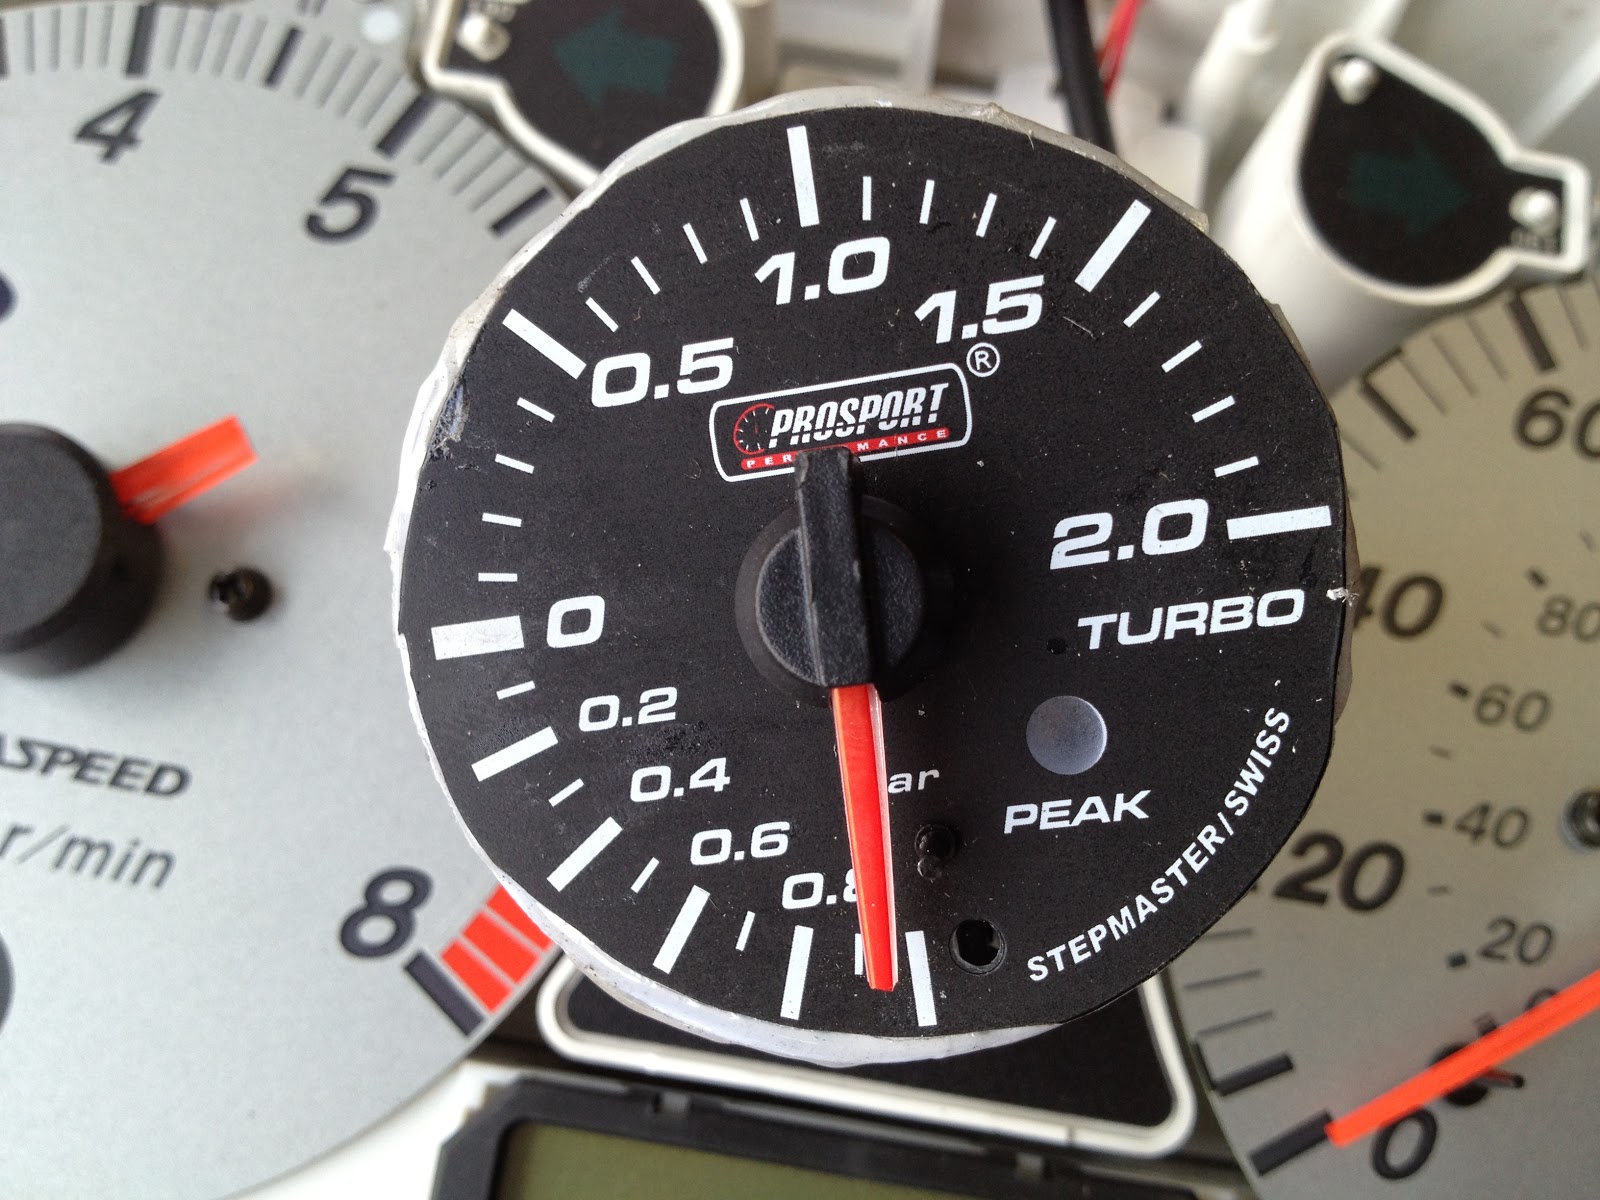
<div class="separator" style="clear: both; text-align: left;">
</div><div class="separator" style="clear: both; text-align: left;">6. Remove the annoying and useless over-boost warning beeper by using a set of pliers and just twist the top part of the speaker. It can be disabled but it is default on and will be reenabled when you disconnect the battery. Impractical whe the button is removed and inaccessible behind the cluster.
After surgery it should look like this:</div><div class="separator" style="clear: both; text-align: center;">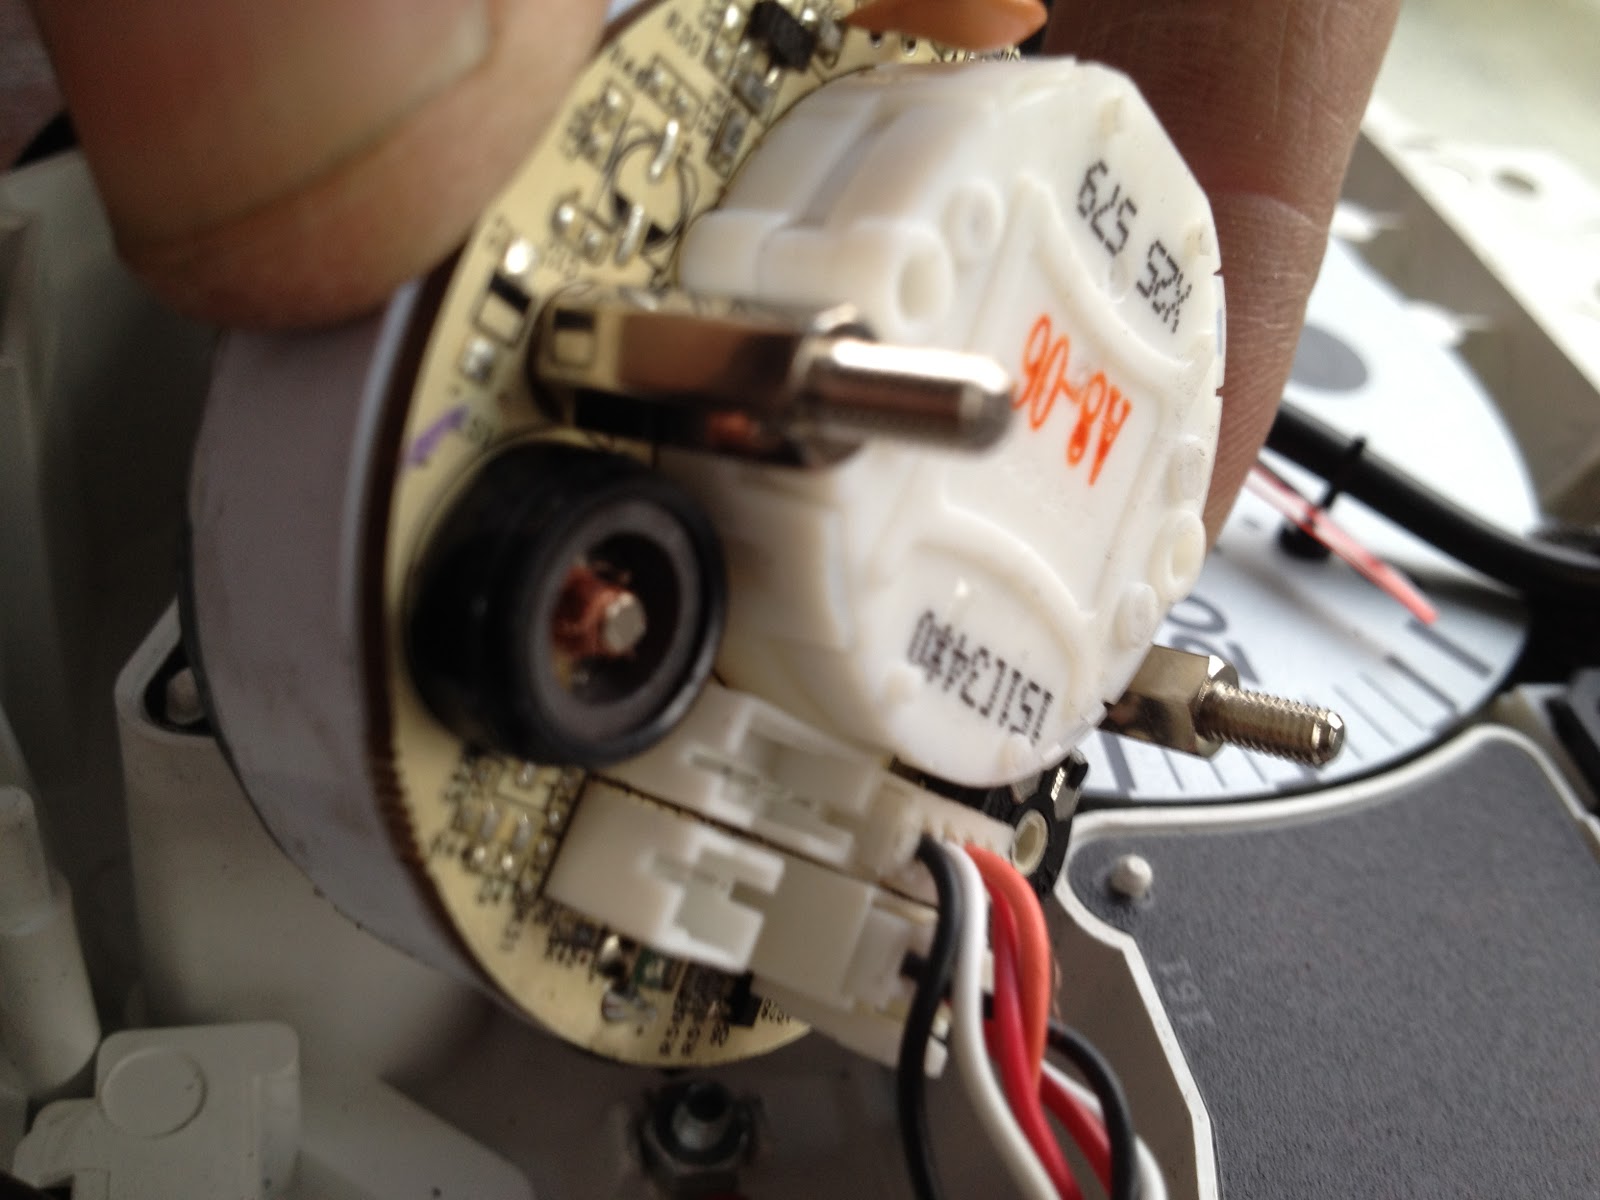 </div><div class="separator" style="clear: both; text-align: left;">
</div><div class="separator" style="clear: both; text-align: left;">
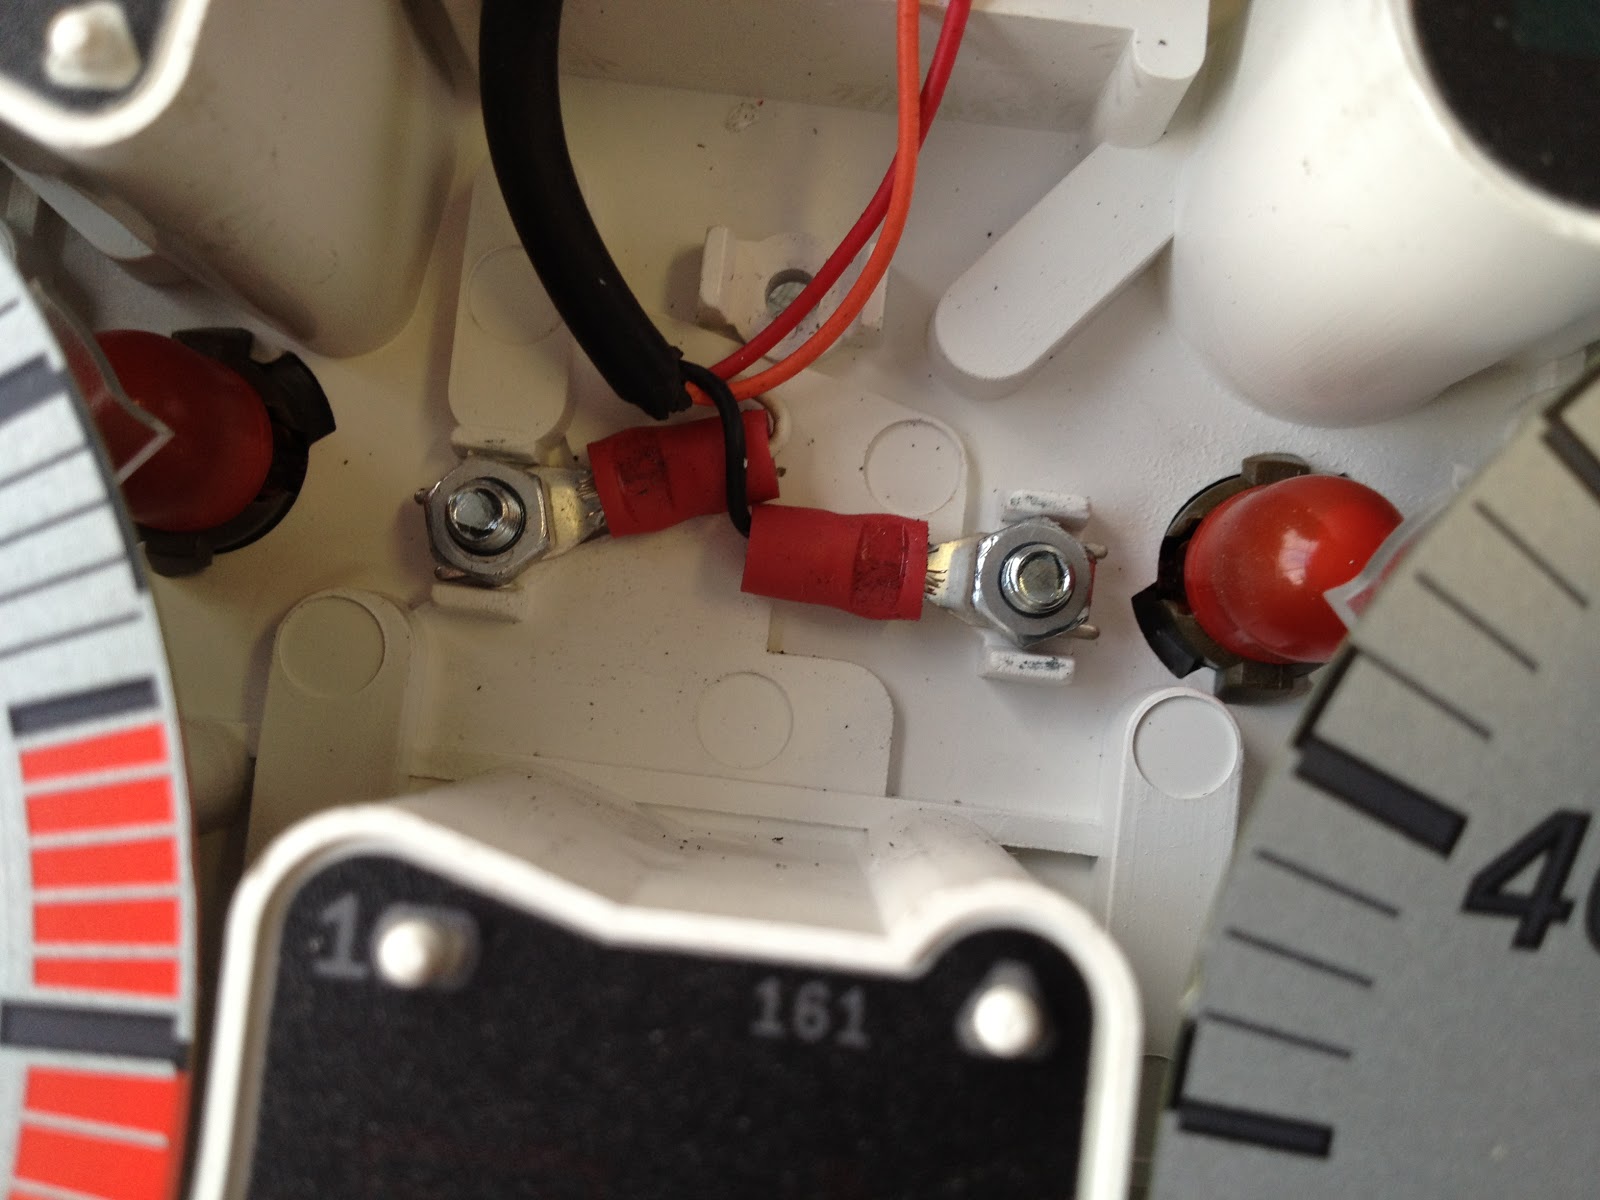
</div><div class="separator" style="clear: both; text-align: left;">7. Wiring it up is easy as we can reuse the GND and IGN+ signal from the oil pressure sensor. Just use som M4 screw/nut and crimp connectors.</div><div class="separator" style="clear: both; text-align: left;">Forget about the constant + and the head lamp wire.</div><div class="separator" style="clear: both; text-align: left;">Just connect the black one to GND and the red, white and orange to IGN.</div><div class="separator" style="clear: both; text-align: left;">We do not need red to a constant + source for memory since we have removed the BEEEEEPer and the orange wire will make the display red instead of the incredibly bright white LED that is default. You can always wire the orange to a switch if you need super-bright-light-right-in-your-face-mode.</div><div class="separator" style="clear: both; text-align: left;">
</div><div class="separator" style="clear: both; text-align: center;">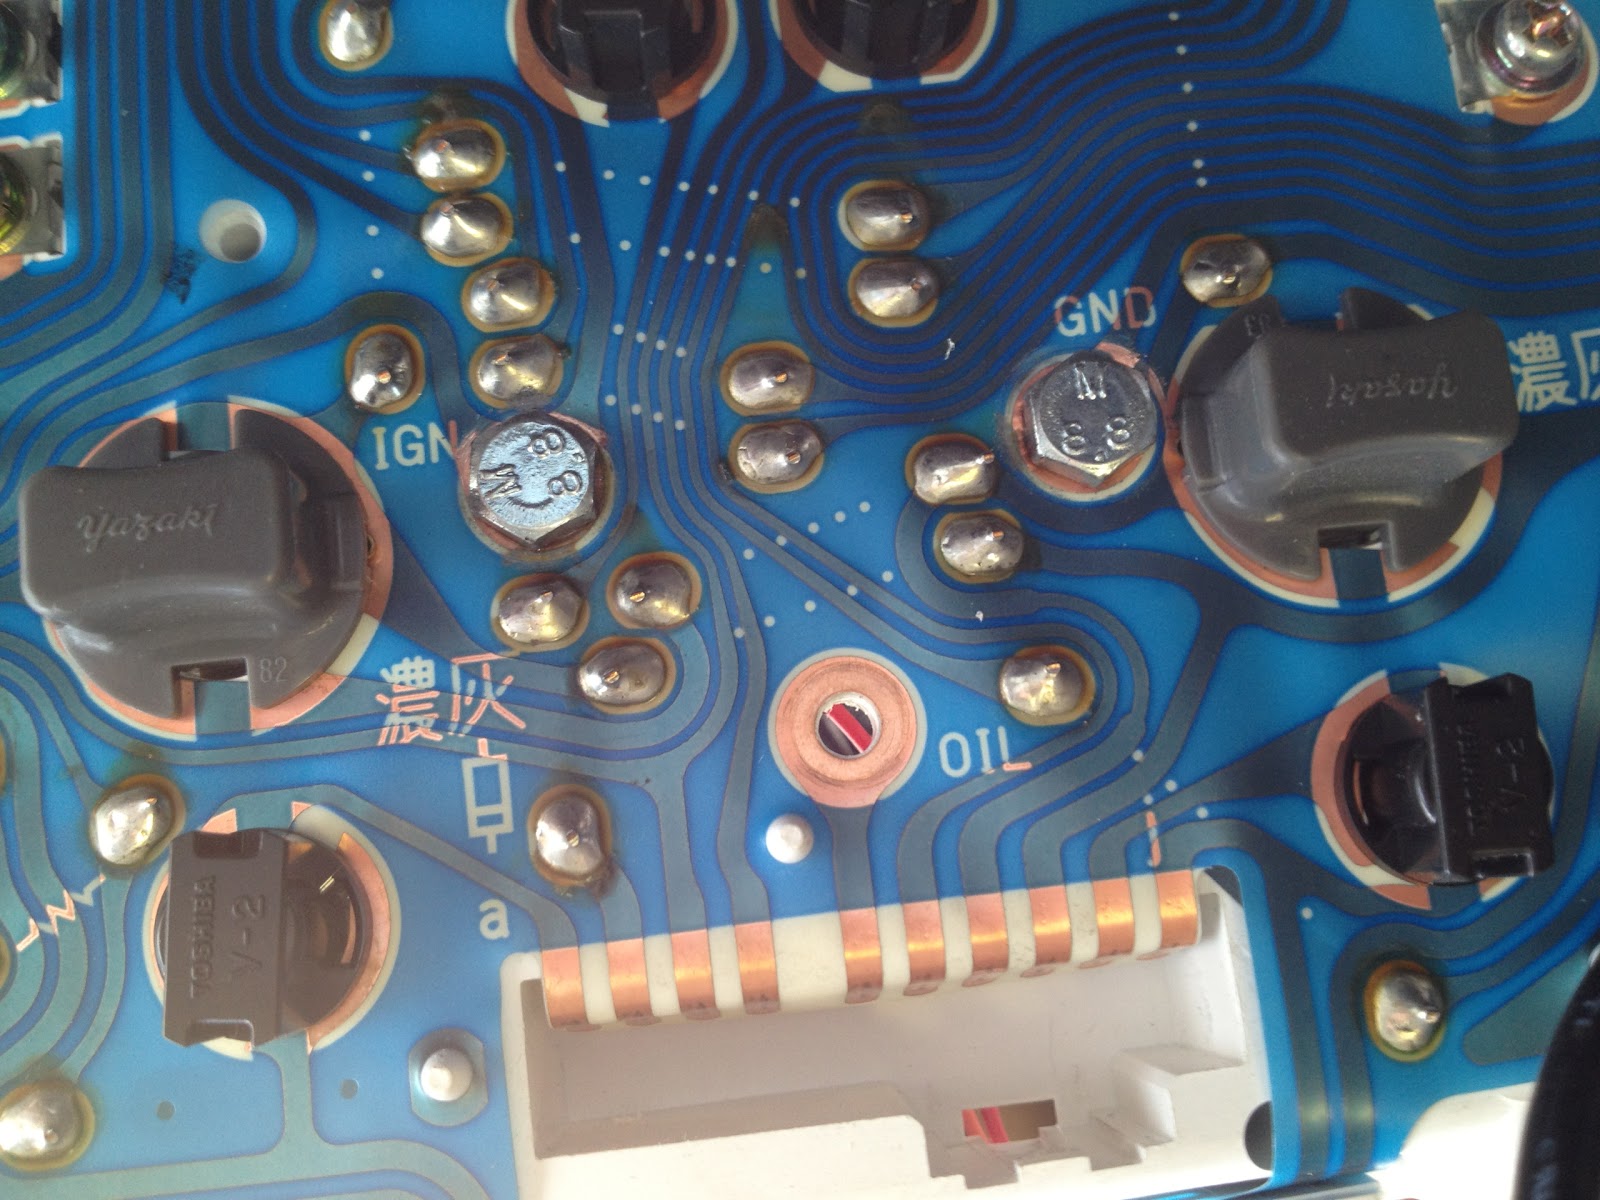
 </div><div class="separator" style="clear: both; text-align: center;">
</div><div class="separator" style="clear: both; text-align: left;">7. Drill a hole on the top of the cluster for the MAP signal wire.</div>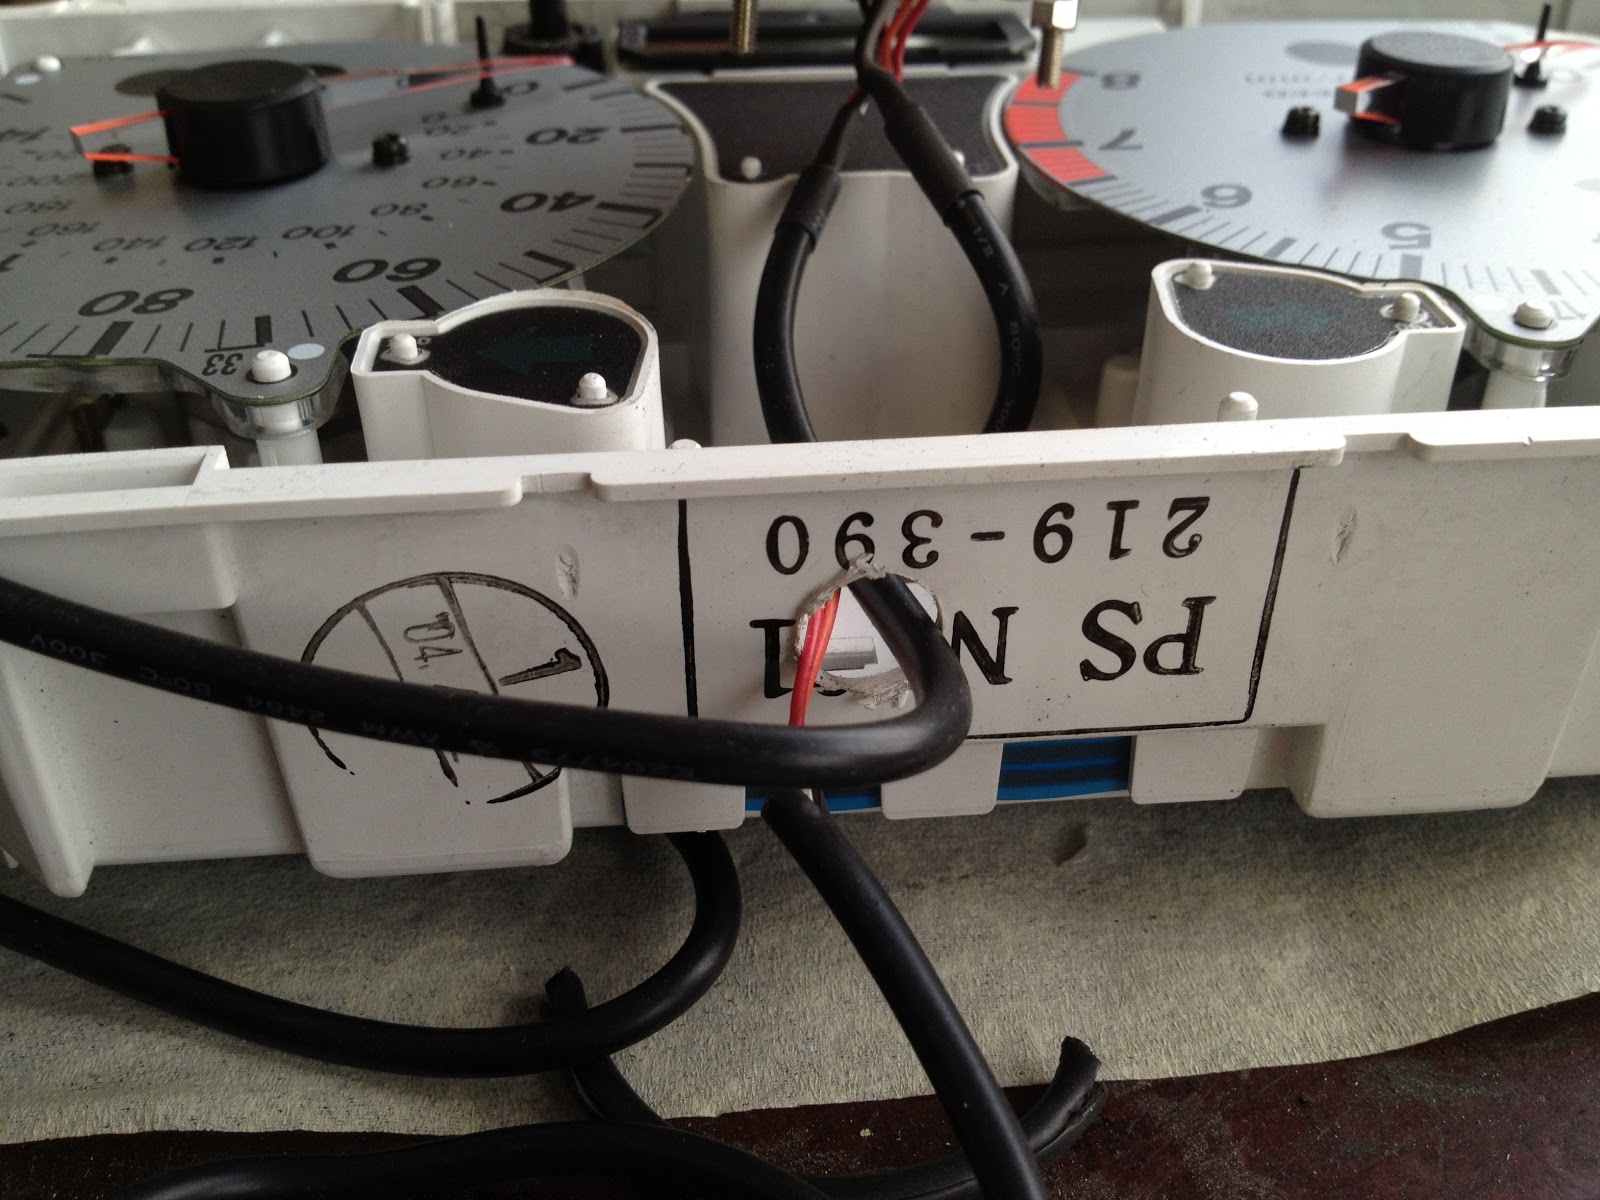
<div class="" style="clear: both; text-align: left;">7. The gauge will fit with some persuasion in between the other stuff. Mine was so tight I didn’t need to secure it.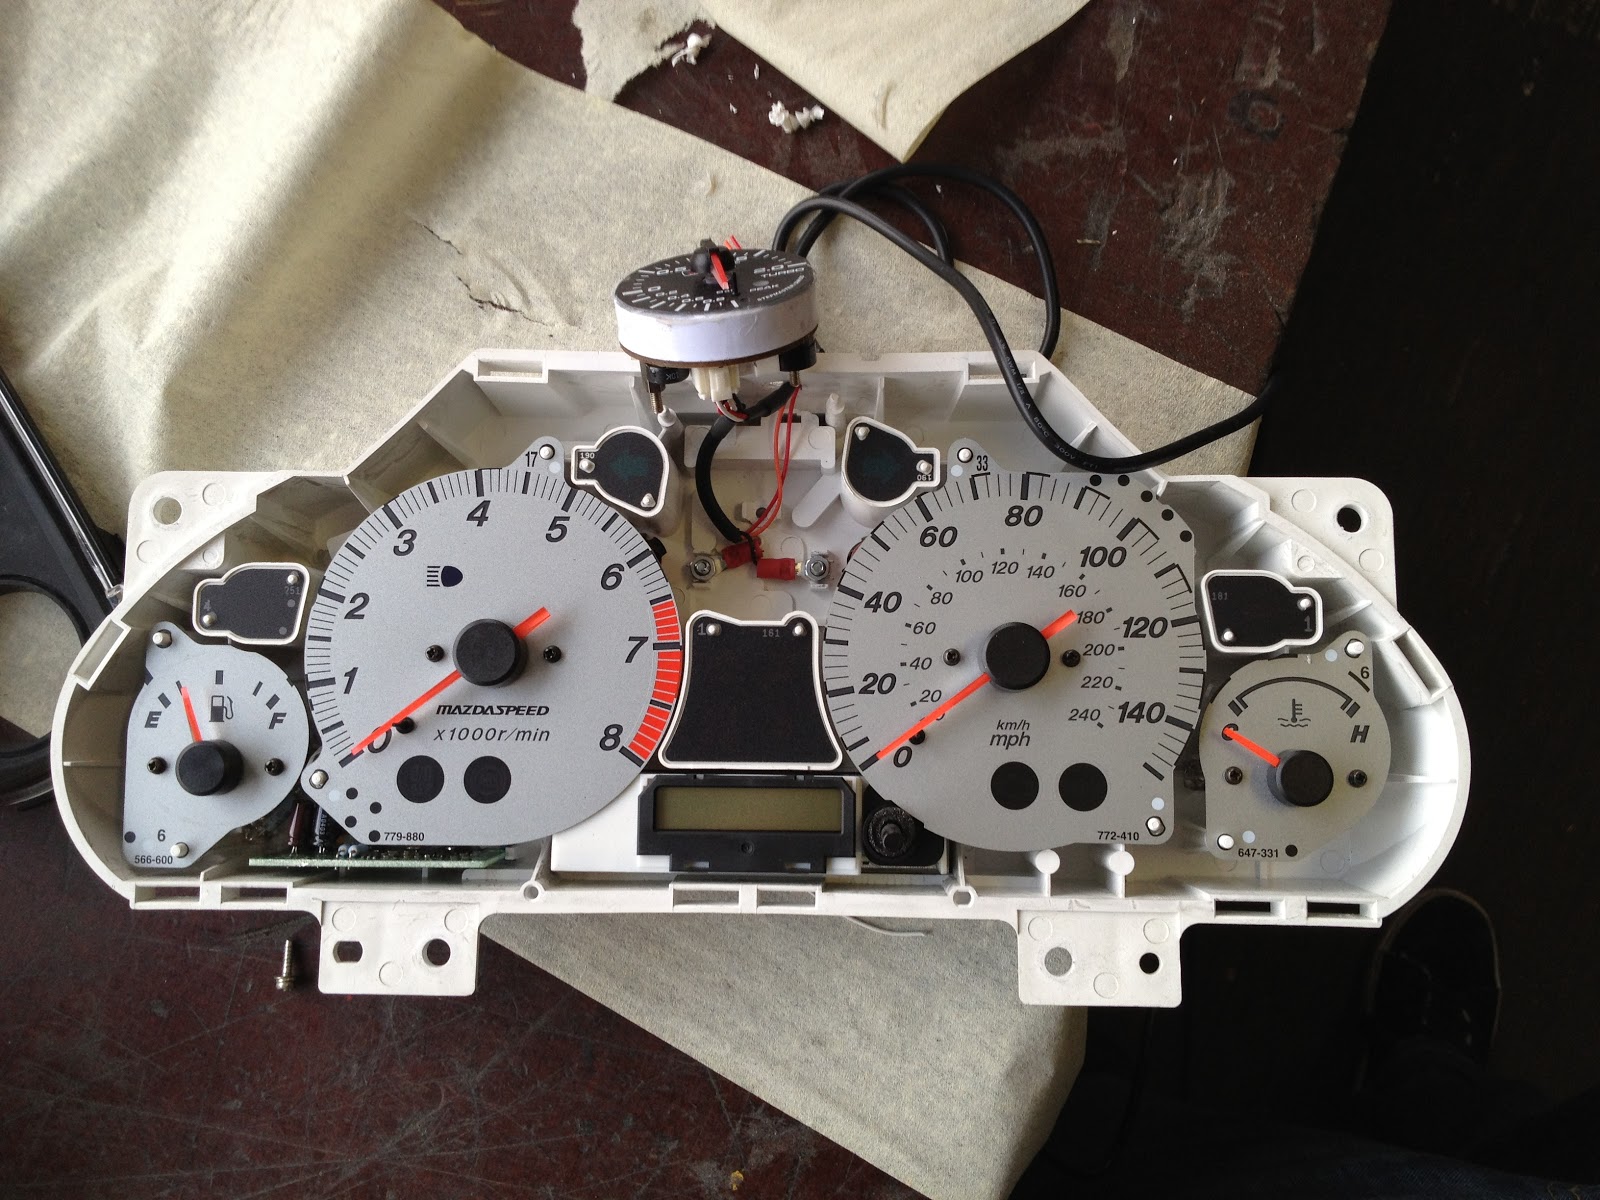 </div><div class="separator" style="clear: both; text-align: left;">
8. The finished product. The needle wont be 100% centered and the gauge face could be another color to blend in better with the MSM silver gauges. </div><div class="separator" style="clear: both; text-align: center;">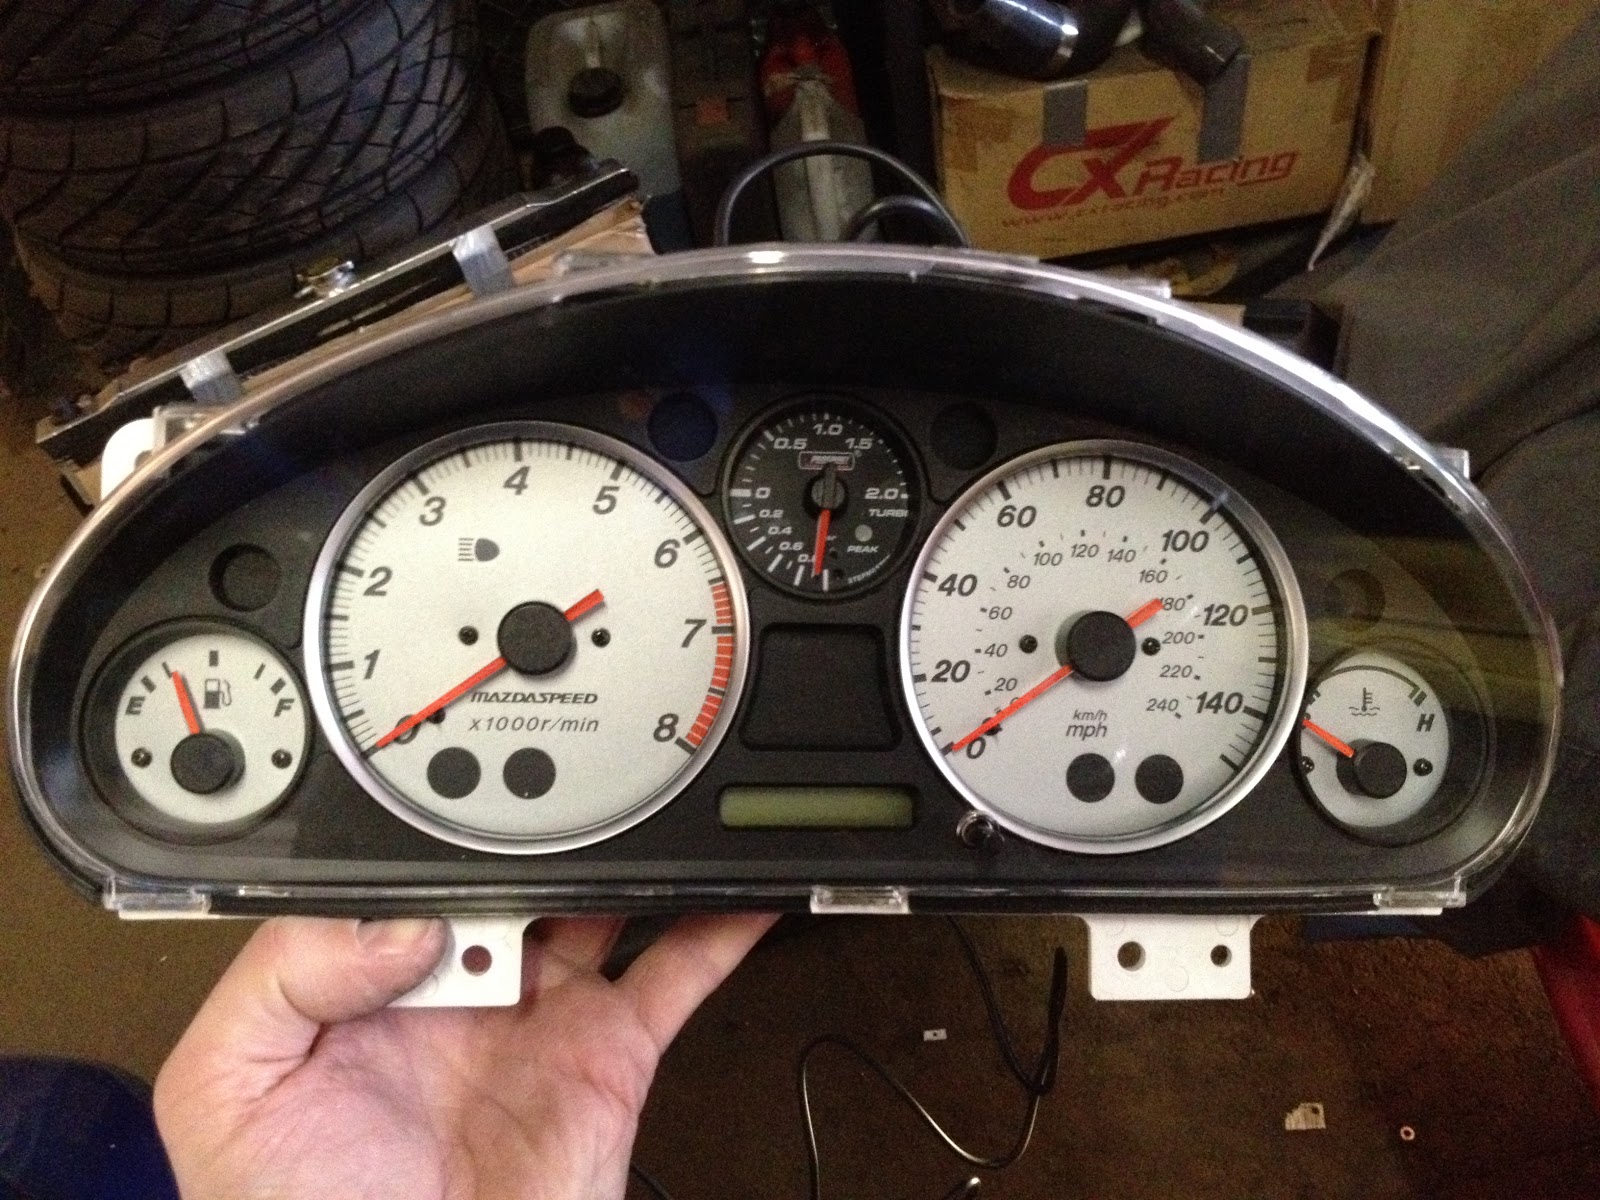 </div><div class="separator" style="clear: both; text-align: center;">
</div><div class="separator" style="clear: both; text-align: left;">Looking forward to see that needle move past 1.0 !</div><div class="separator" style="clear: both; text-align: left;">
</div>
Comments