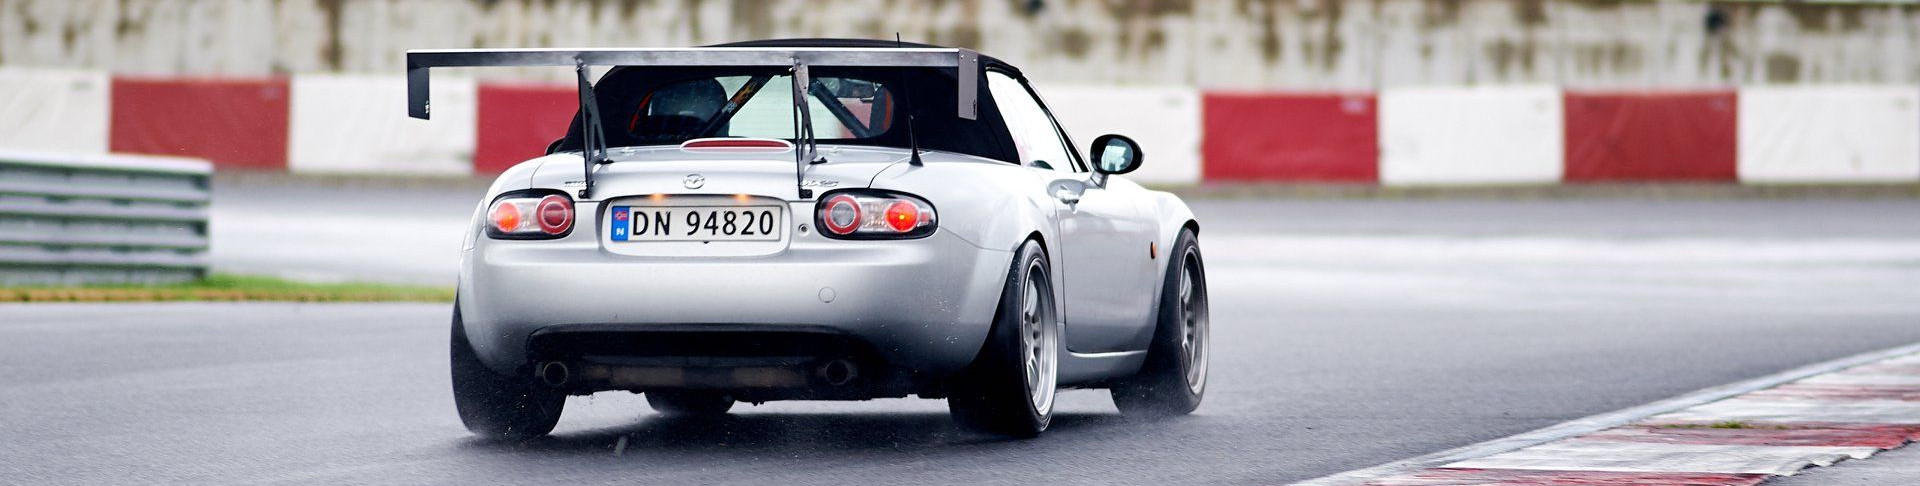
MX-5 Vmaxx Big Brake Kit install and review
After this winters power upgrades the poor stock brakes are struggling to keep up . After about 5 laps in attack mode they’ll start fading and act non consistent. It got a lot better with brake ducts but whatever pads and brake fluid I use they are not able to stop the car with the control and confidence I need to brake as late as I want to. I have been using EBC Yellow stuff and Castrol fluid. Once the pads are overheated the fluid starts boiling and both the friction and clamp force is gone.
This is how my yellow stuff pads looked after a trackday in july:
<div class="separator" style="clear: both; text-align: center;">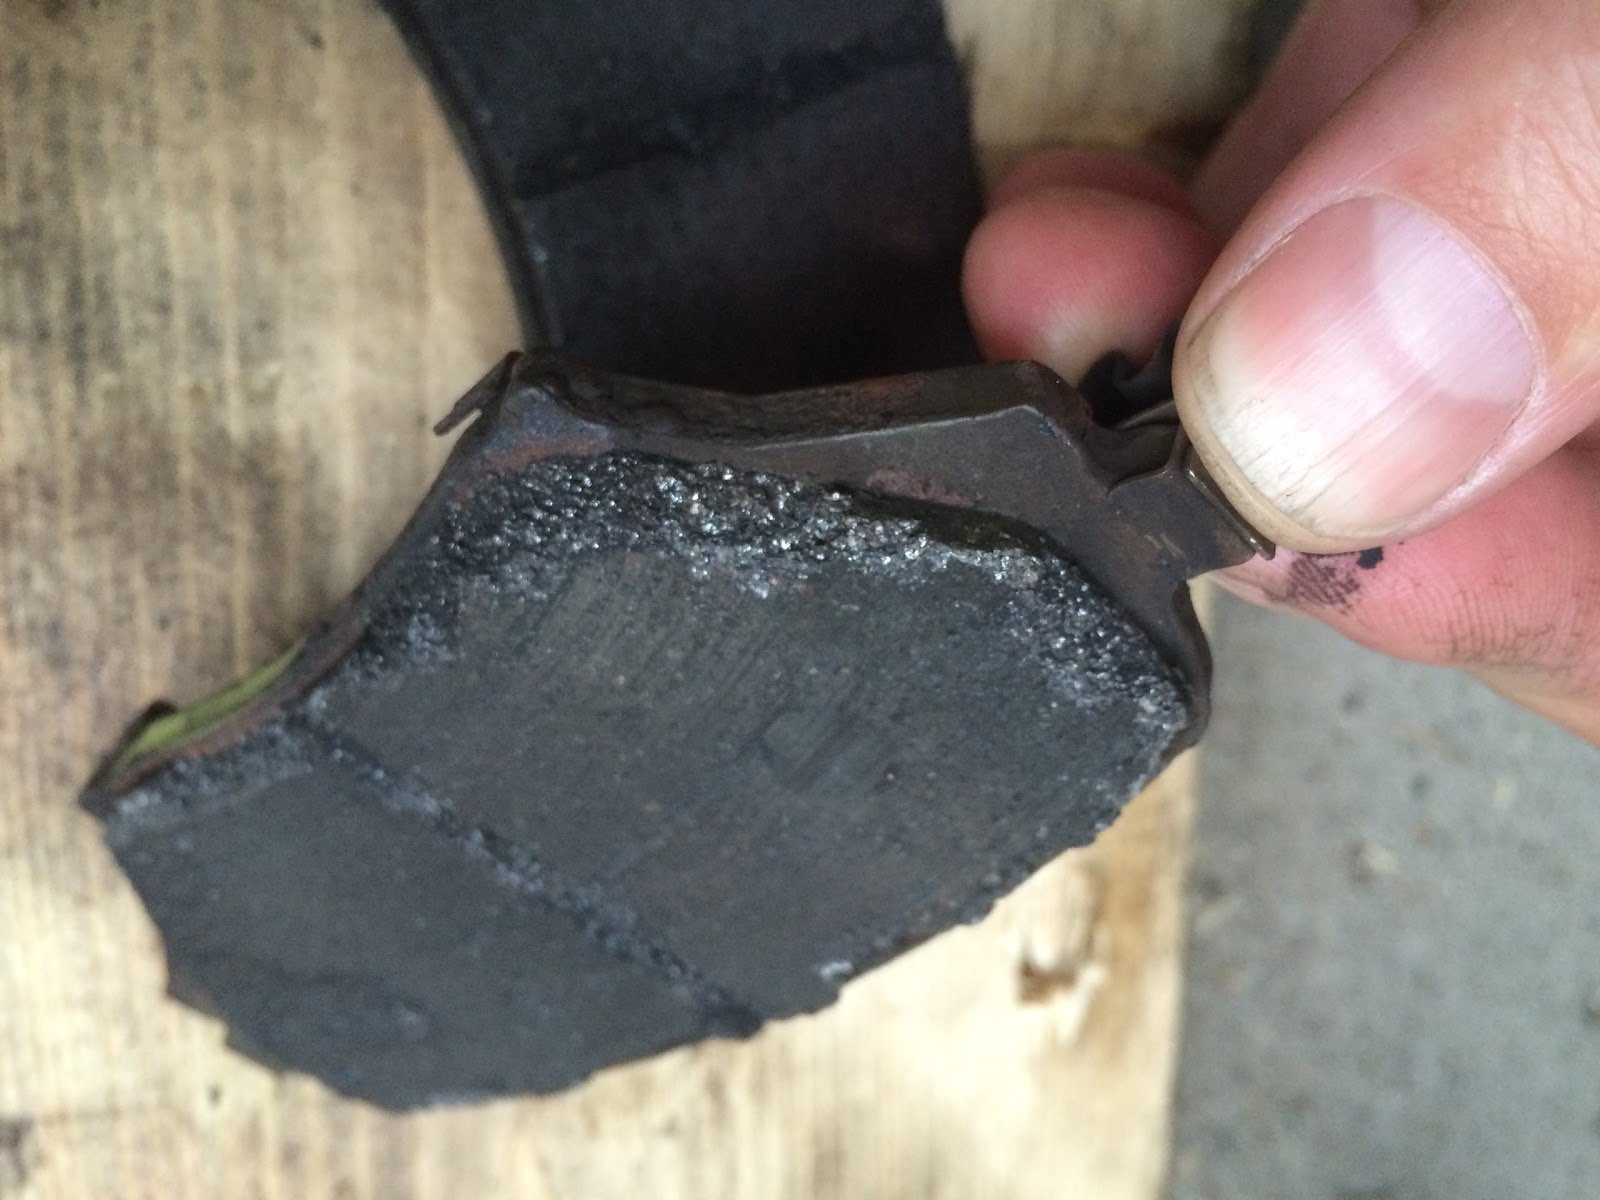 </div>
<div>With stock power including semi slicks they are good enough with the proper pads but for 200whp+ on a race track they are not optimal.</div><div>
</div><div>I have had experience with Wilwood 4-pot calipers on the MSM and would have gone that route again if it had TÜF- approval since the new rules for periodic vehicle inspections are worse than ever.
The only available TÜF approved brake kit that I’m aware of is the Vmaxx 4-pot 330mm kit sold by www.ilmotorsport.com and many others.
There is not a lot of info on this particular kit online but I found some reviews for a BMW version of the kit that uses the same size discs and calipers. They are said to utilize the same caliper as several other Chinese BBK as K-sport, D-sport and
<div class="separator" style="clear: both; text-align: center;">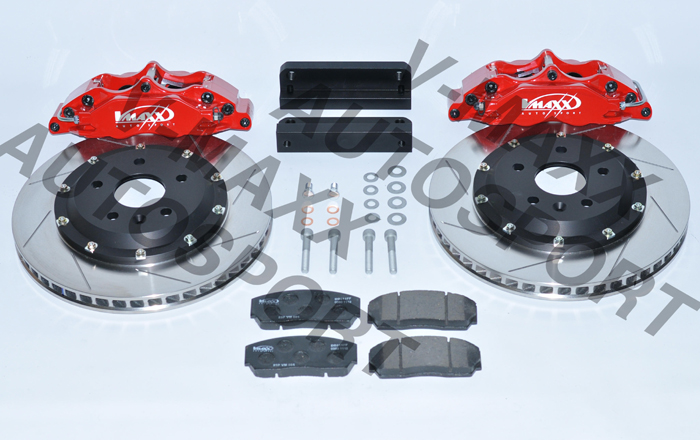 </div>
Calipers are 4-pot with different size pistons front and rear. The pistons have dust seals but there was a note that said they had to be removed for racing or heavy track driving (!). I have no plans of removing them so I guess I’ll find out why pretty soon. The calipers are not mono block but looks pretty stiff with 7 bolts clamping the three pieces together. The important part here is that the fluid is transported between the left and right caliper halves via an external hard line and not via internal channels trough the layers that WILL leak eventually. The stock pads are for the street more than the track but there are options from Ferrodo and EBC that should work.
<div class="separator" style="clear: both; text-align: center;">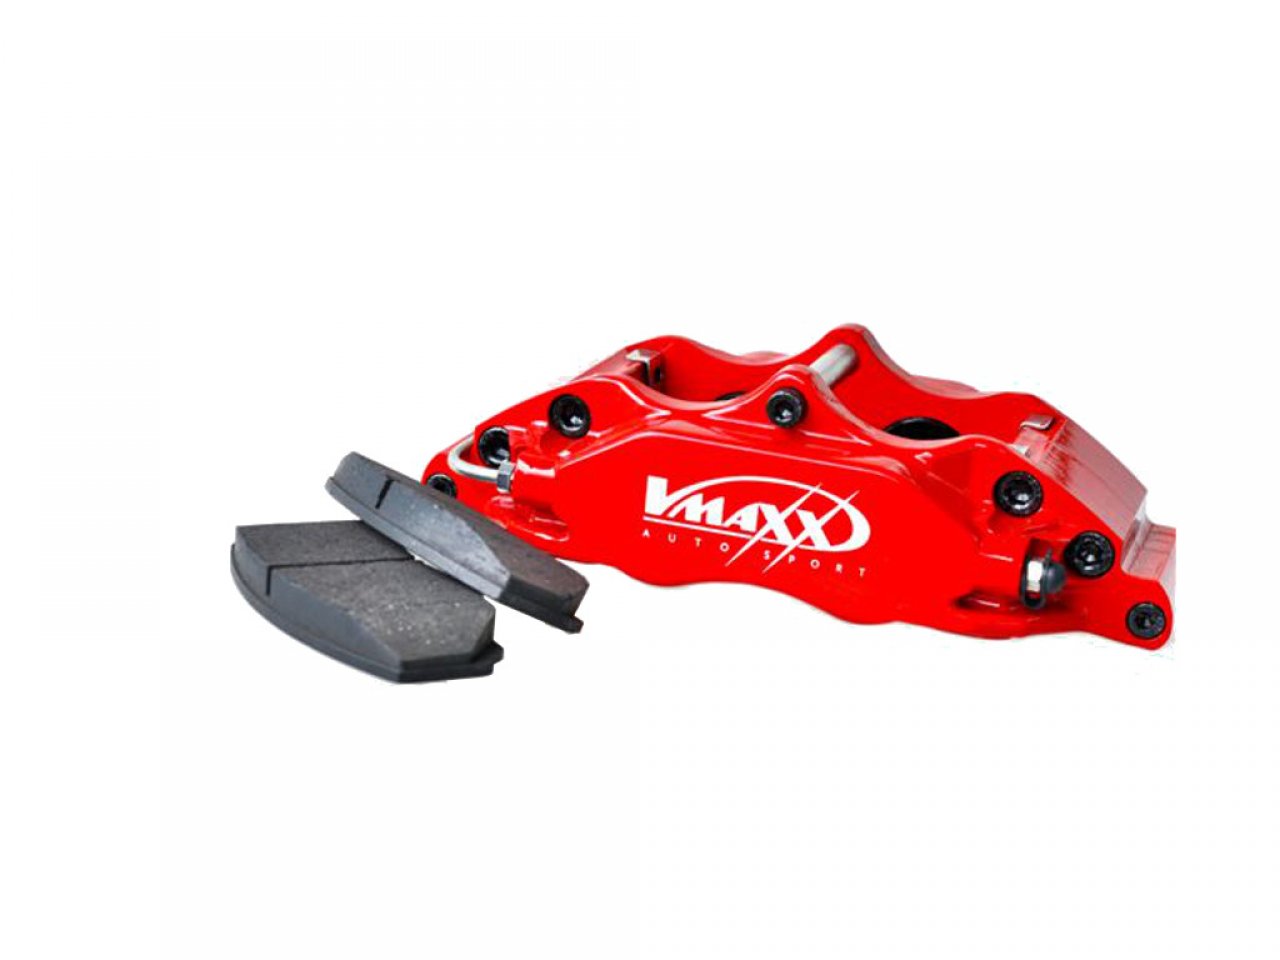 </div>
Be sure to never ever use the 90-deg brass adapters, aluminum washers and the flange less banjo bolts. The brass adapter looks to be machined by hand in a Chinese sweat shop with a file since it was several degrees off on one side which made it impossible to seal under pressure. This is both dangerous and not acceptable. Since the banjo bolt don’t have a flange it destroys the aluminum washer when tightening. Reuse the stock banjo bolts and get new copper washers.
<div class="separator" style="clear: both; text-align: center;">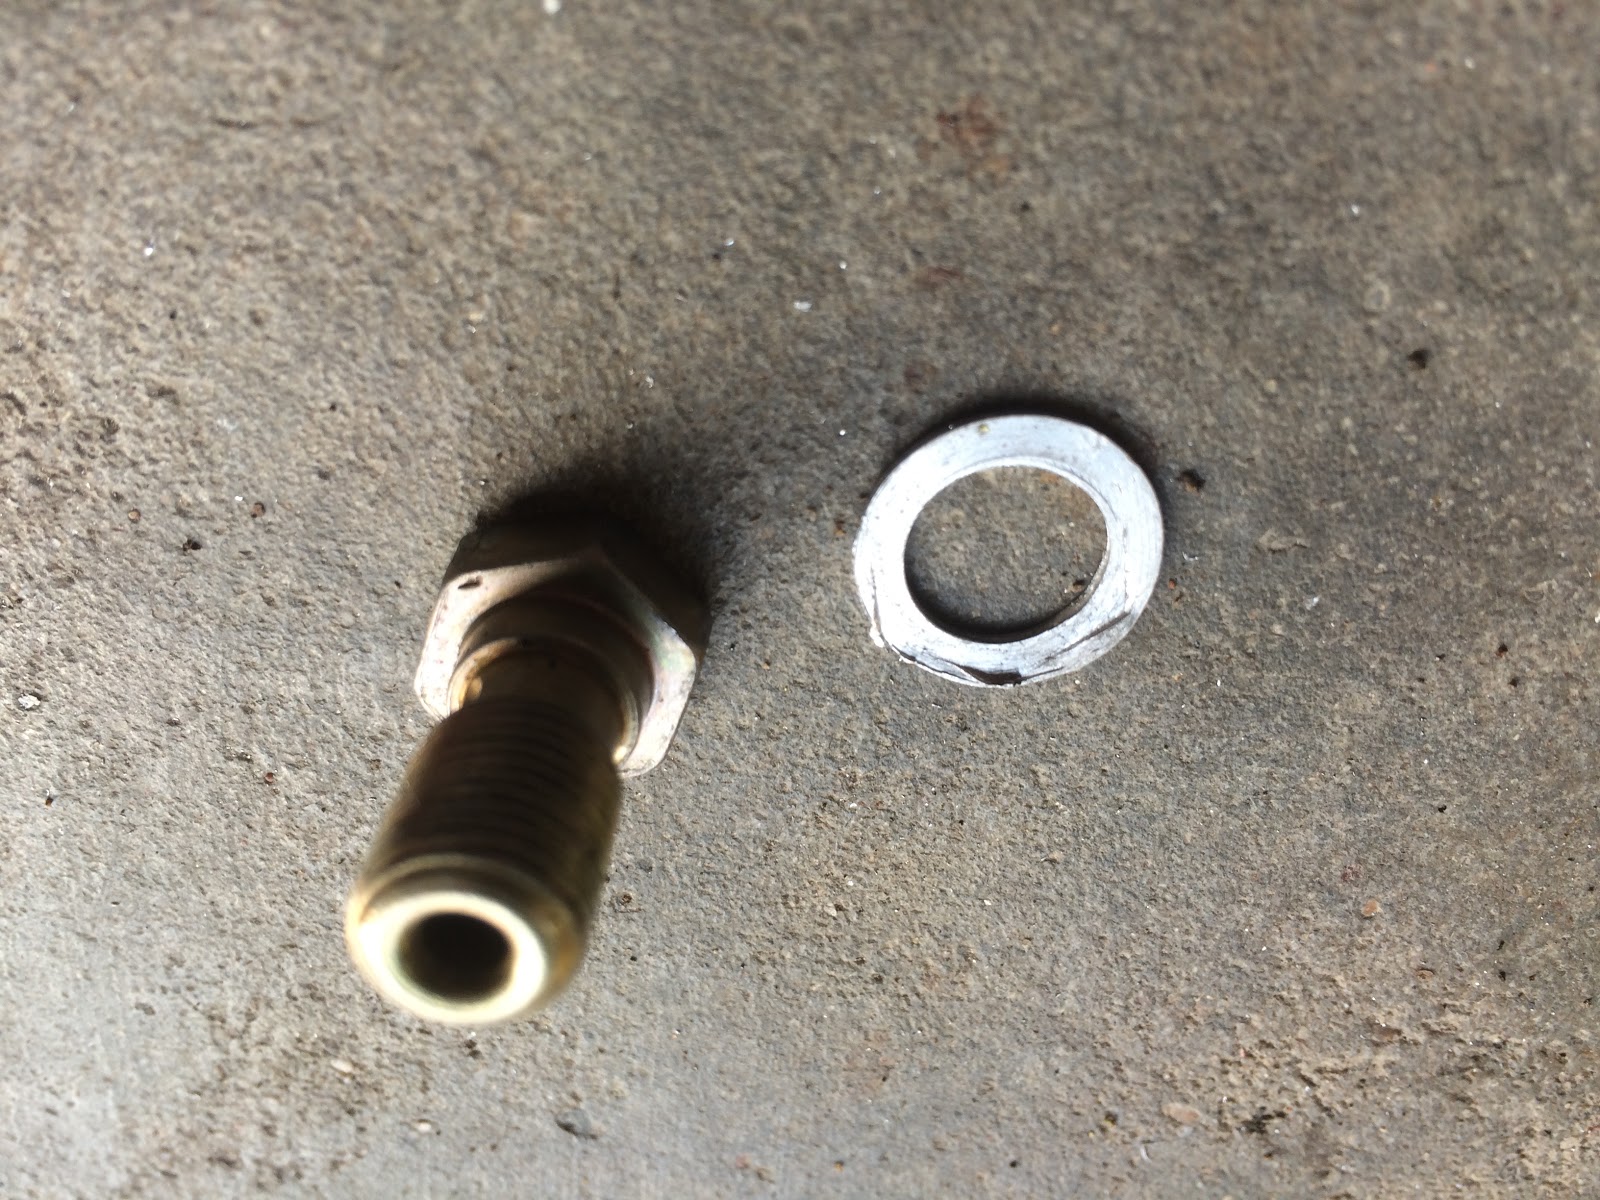 </div>
<div class="separator" style="clear: both; text-align: center;">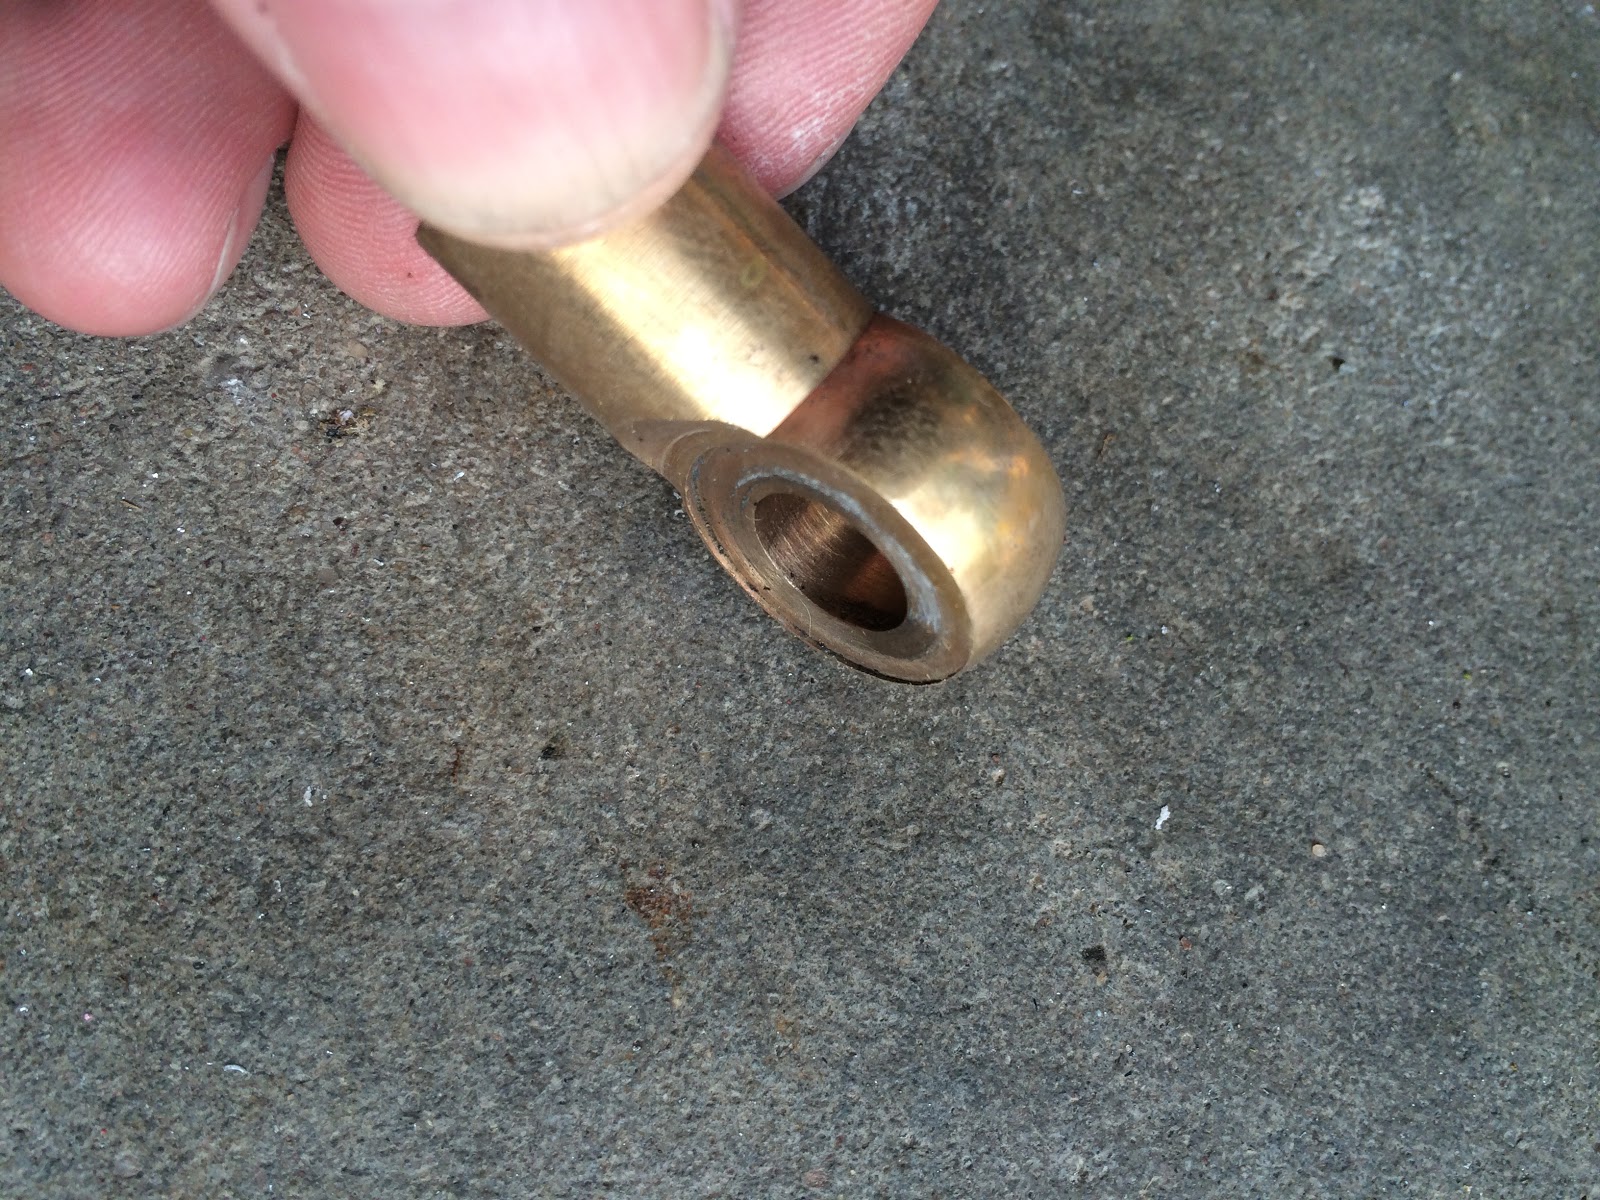 </div>
<div class="separator" style="clear: both; text-align: center;">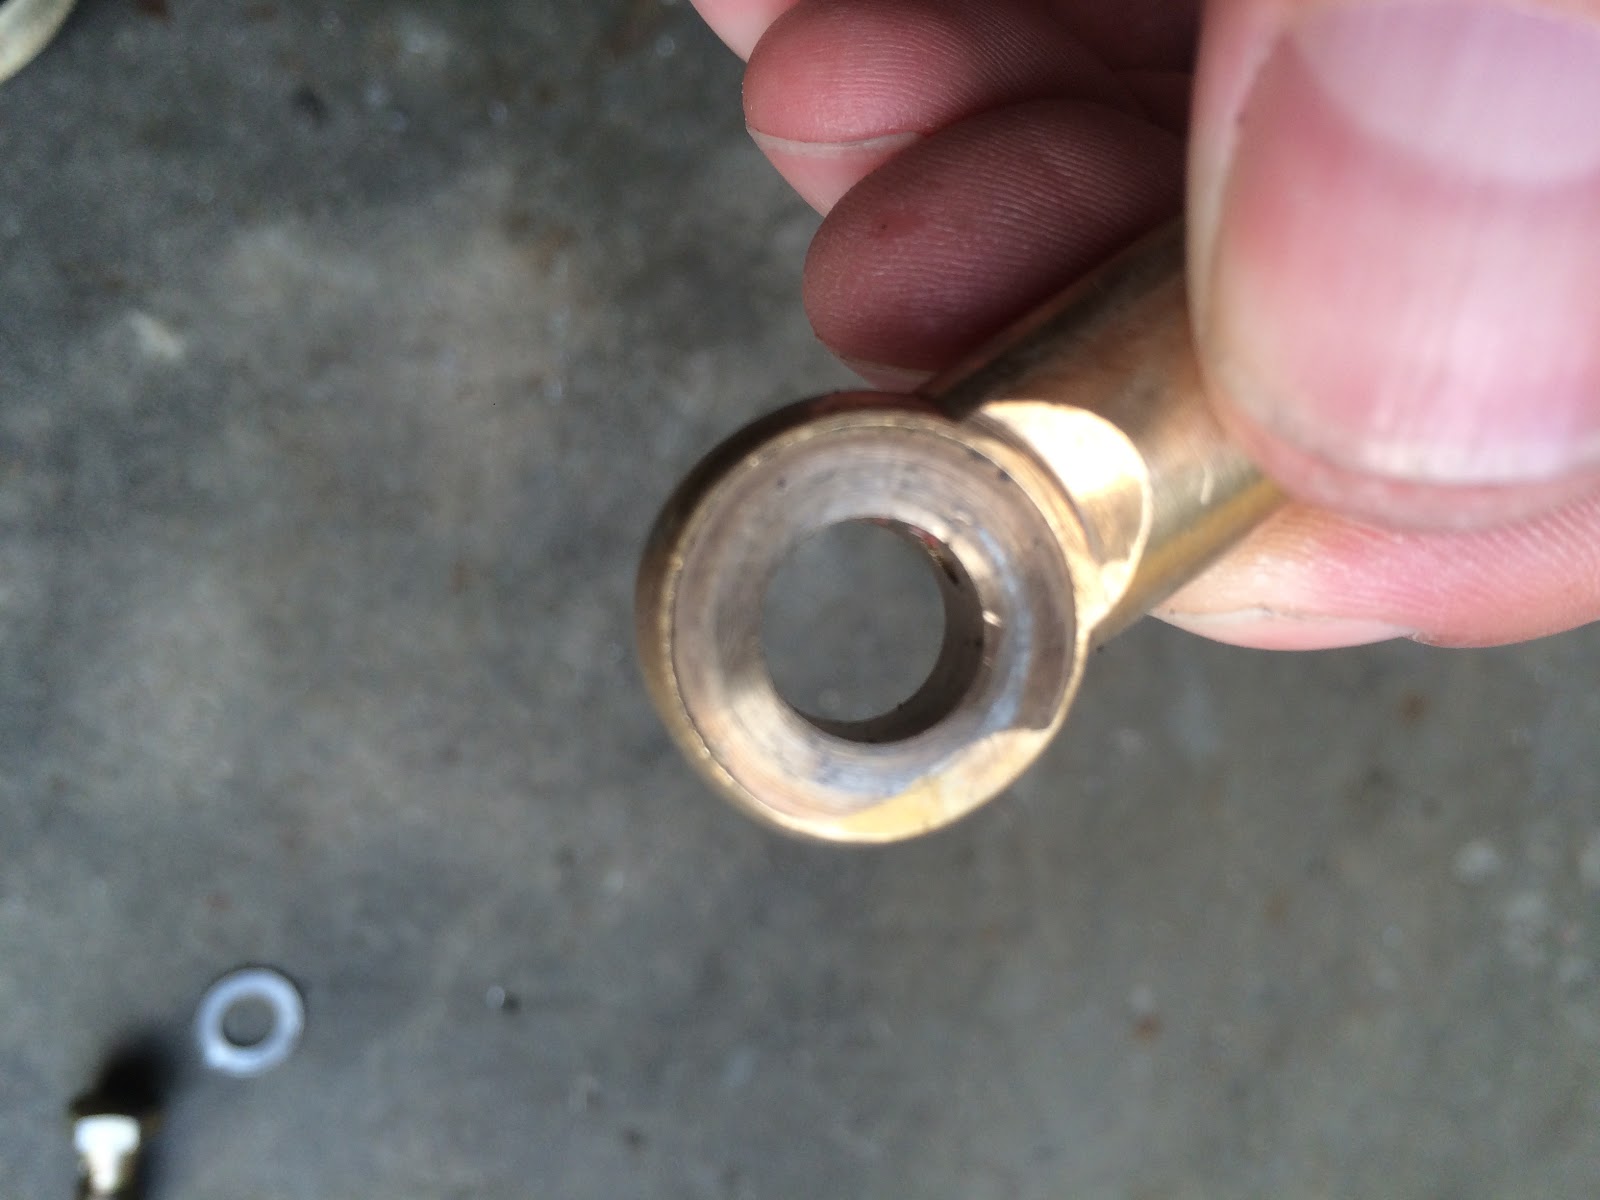 </div>
I did not use the ss brake lines that came with the kit as I did the install in a parking lot in Adenau during a trip to the Nurburgring and could not risk destroying the brake line which I was not able to get loose using considerable force and available tools. The stock lines can be reused by turning them around using the stock bolt from the opposite side.
Another thing to mention is that if you have aftermarket brake shields which is thicker than the stock shields the hub will be spaced out the same amount. Since I have GW brake cooling ducts this was noticeable when centering the caliper adapters with shims.
<div class="separator" style="clear: both; text-align: center;">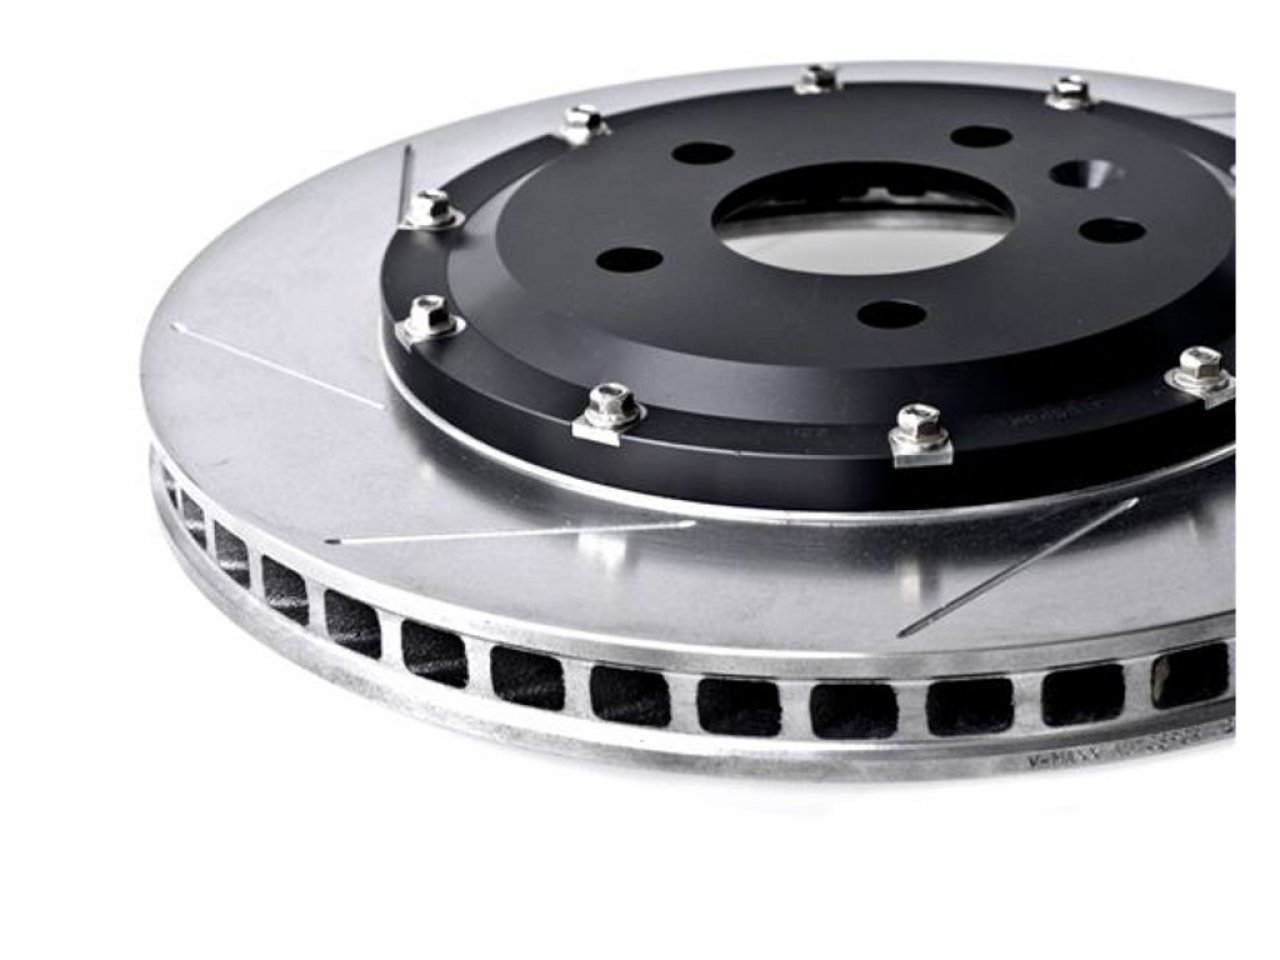 </div>330mm discs are massive compared to stock. Minimum 17” wheels.
<div class="separator" style="clear: both; text-align: center;">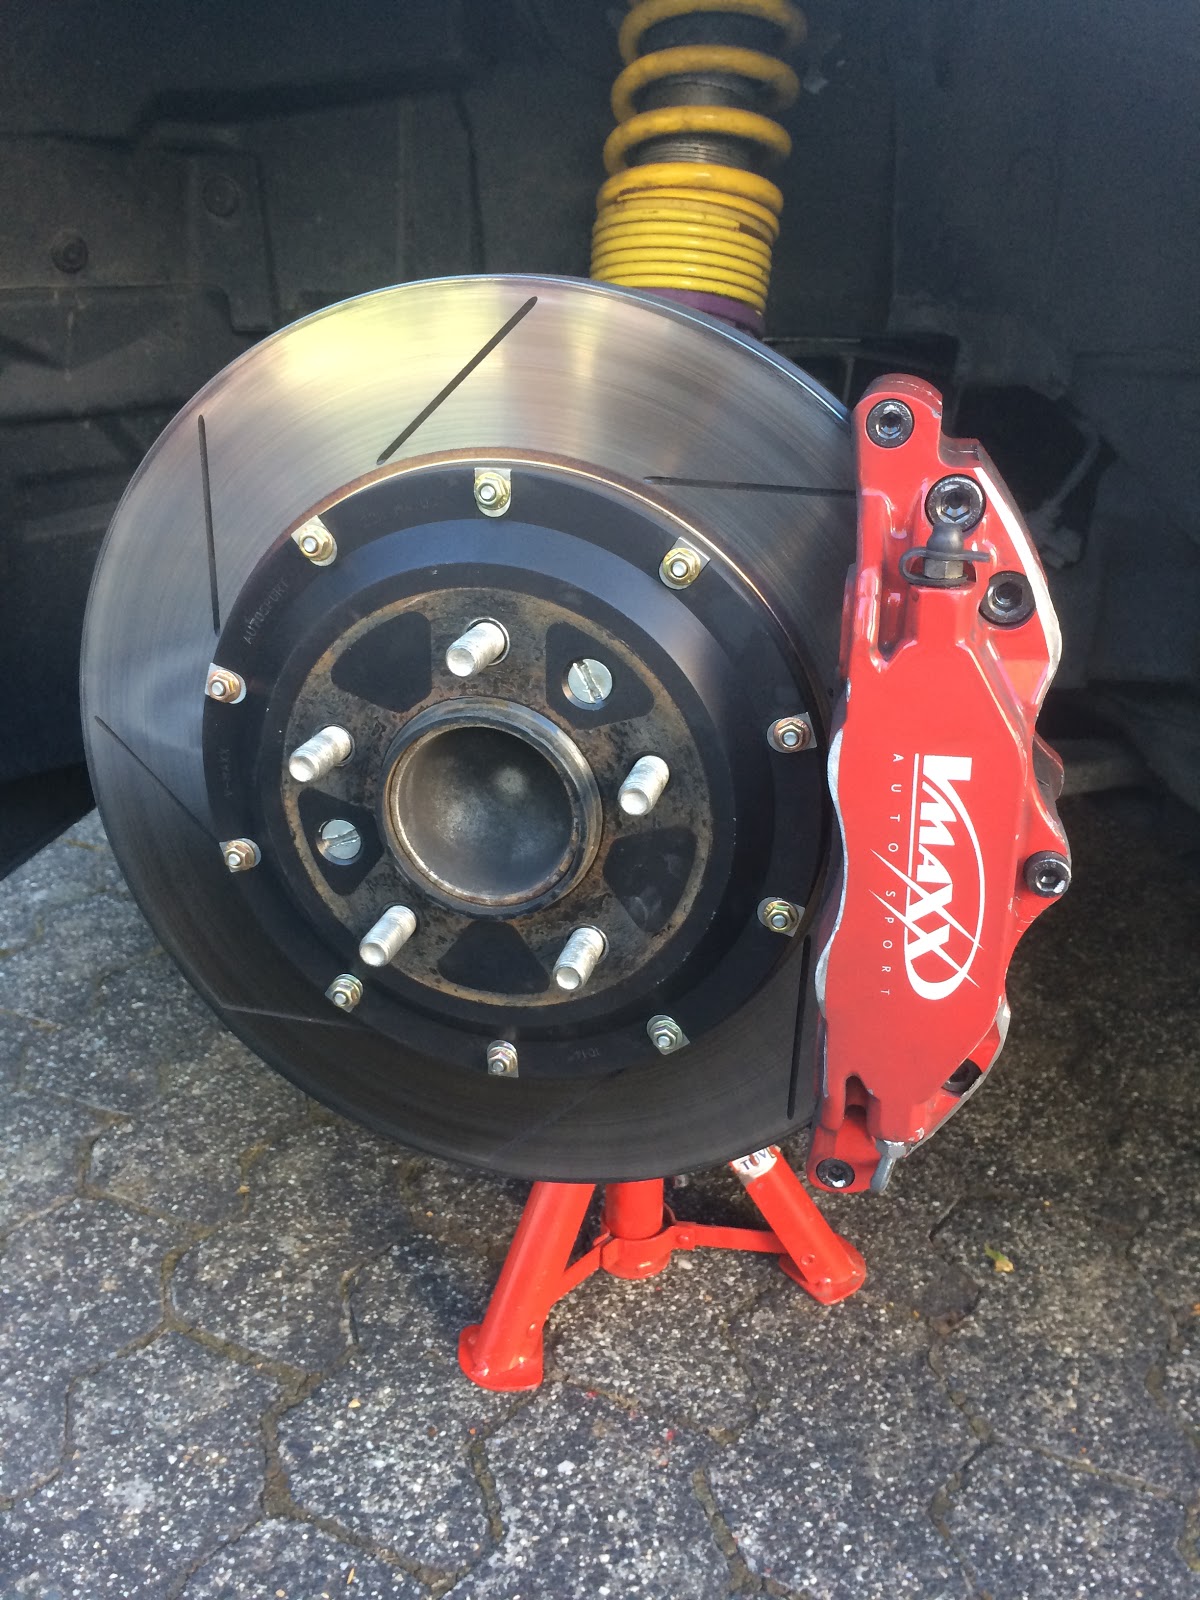 </div>
When I was about to testfit the wheels i was surprised to see that the 17” RPF1 ET35 did not fit…
What to do when stuck wrenching in a parking lot 1000 km from home ? Make them fit!
Yes. I took off some material in anger on the brand new shiny calipers to get 3mm clearance all the way around. A spacer would have done the same job but there is not any room left under the fenders for lower ET. Problem solved.
<div class="separator" style="clear: both; text-align: center;">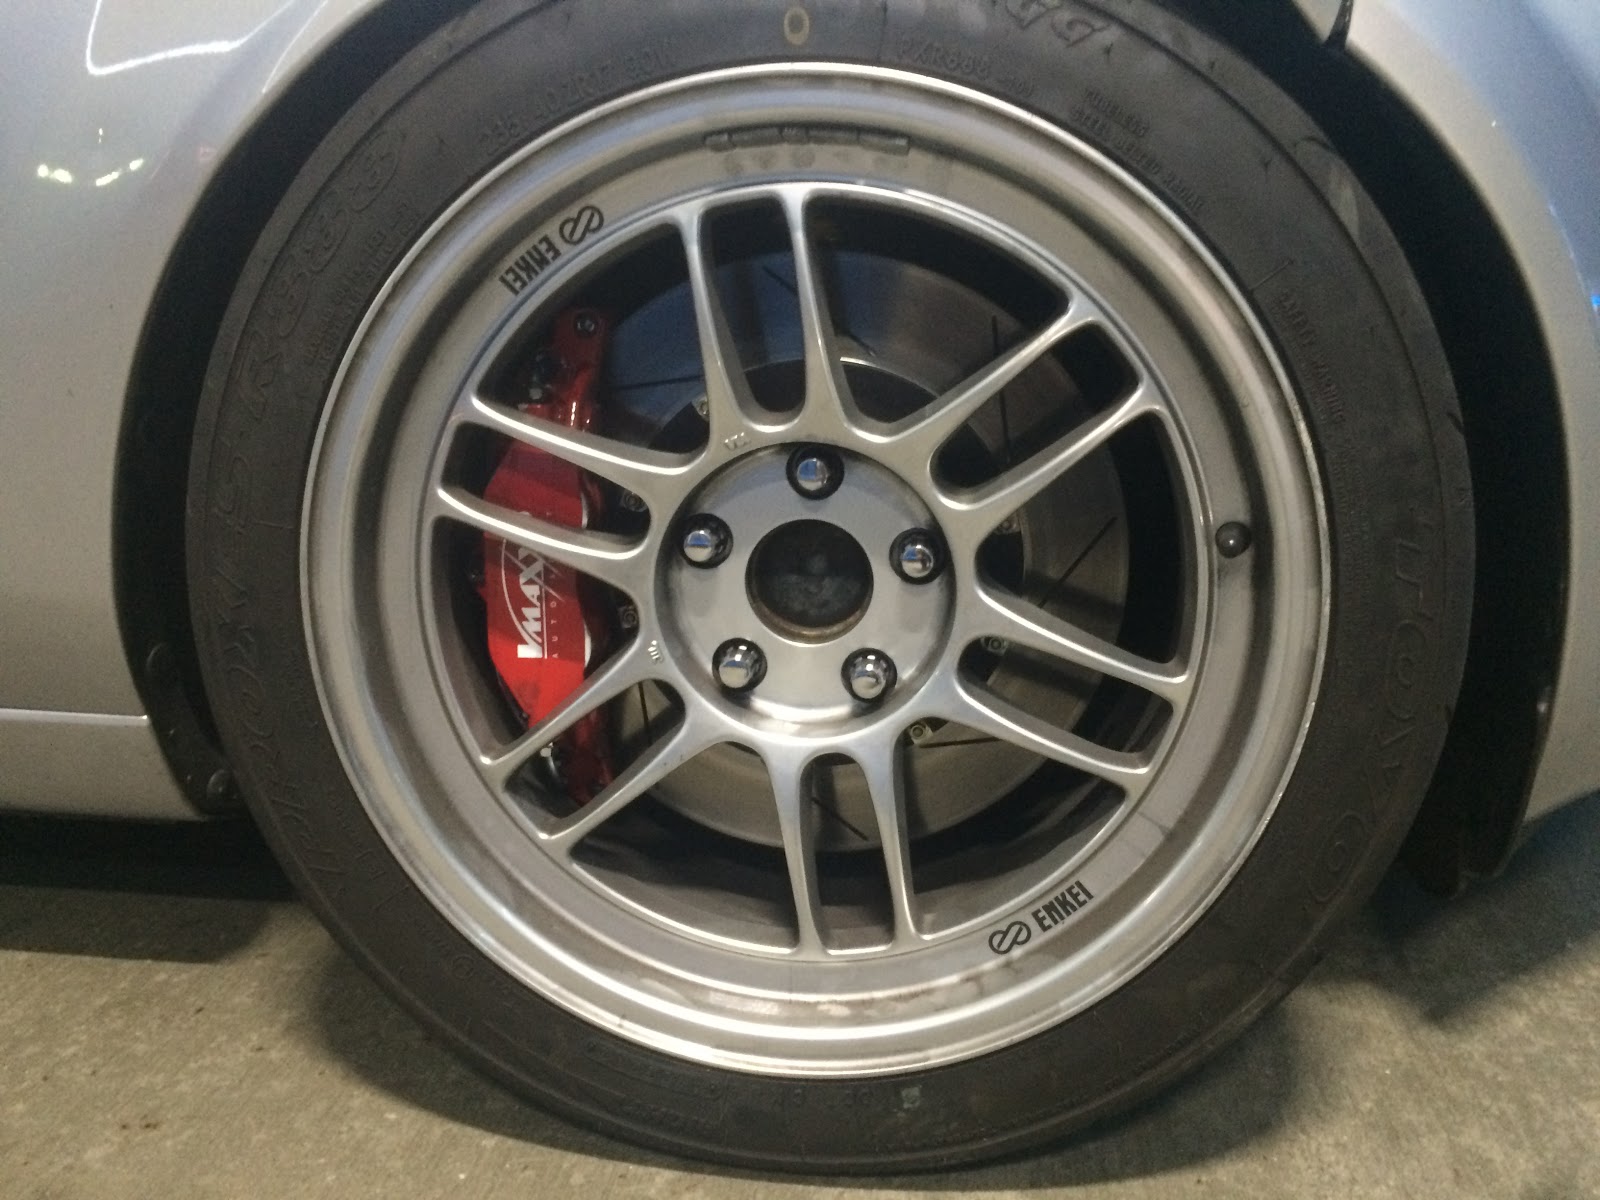 </div>
Like a glove.
The first real test after the initial shakedown on the road was four laps on the Nürburgring the day after. The result was just what I had hoped for. Excellent modulation. No sign of fade and an all over good feel in the brakes during both light and heavy use. Balance and ABS operation is unchanged.
But after the car had sat for an hour I noticed that the pedal felt softer.
This is when I discovered that the 90-deg POS brass adapter was FUBAR and had started to leak under heavy pedal pressure. This was solved as described earlier in the article.
Final bleeding after the rebuild
<div class="separator" style="clear: both; text-align: center;">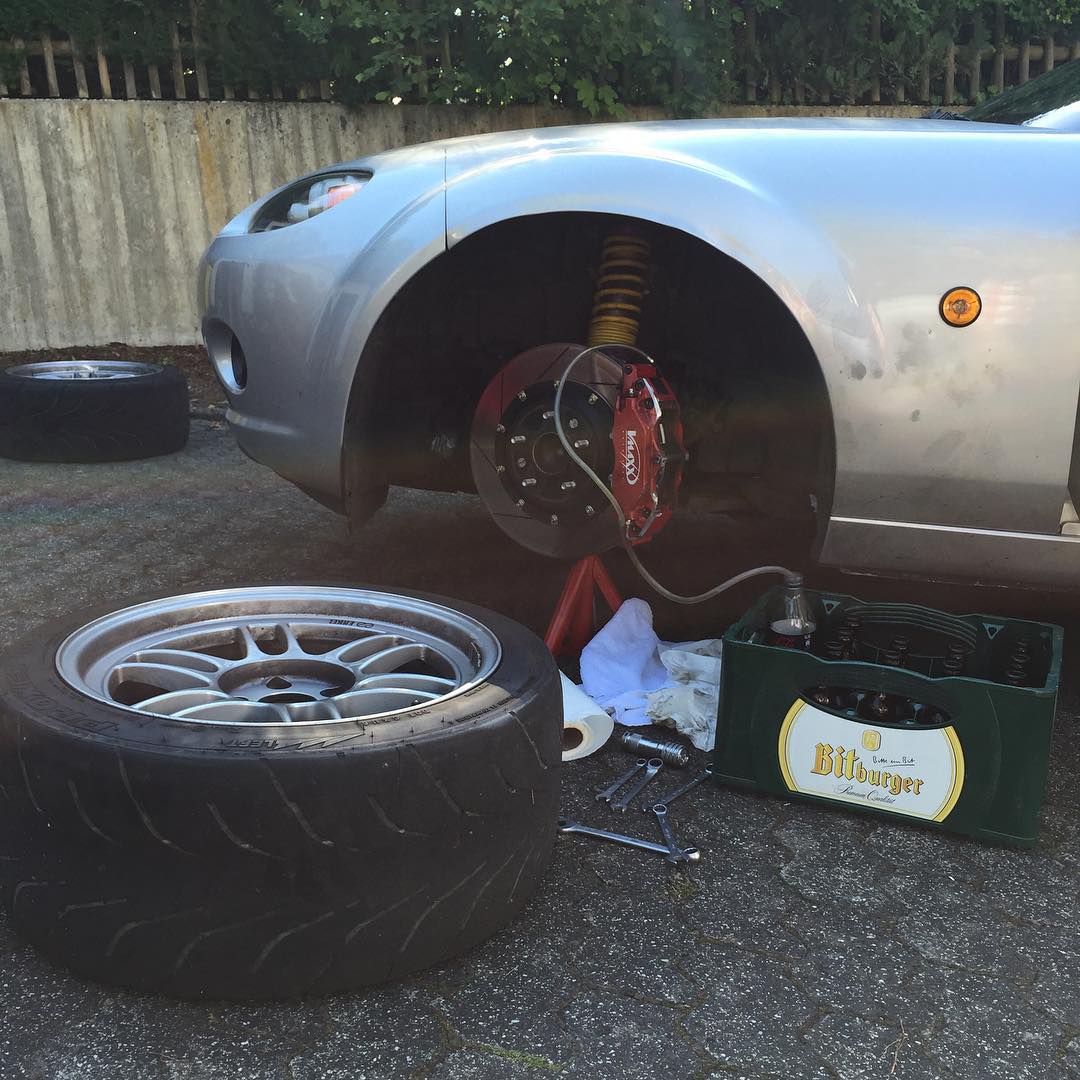 </div>
What have we learned ?
- Use the template that can be downloaded to verify that the rims will fit without modifications/spacers..
- Do not use the shady banjo hardware that came with the kit.
- Do not change brakes with limited tools in the middle of a parking lot in 35C heat.
Looking forward to hit my local track with the new brake setup. This might be the mod that will get me under 1:40 this year.
</div>
Comments